Strawberry Truffles
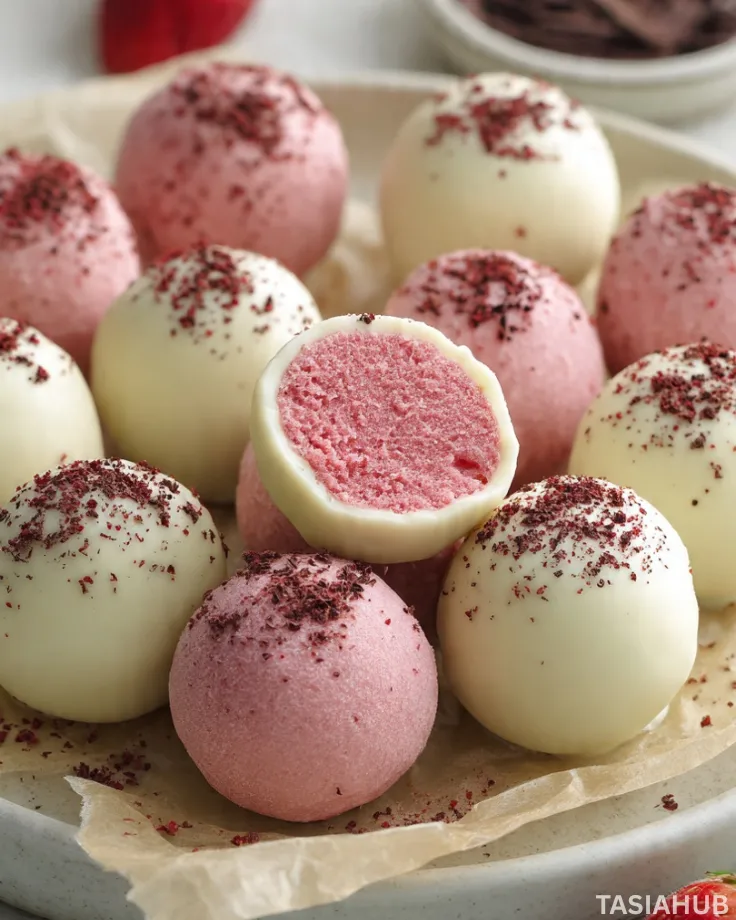
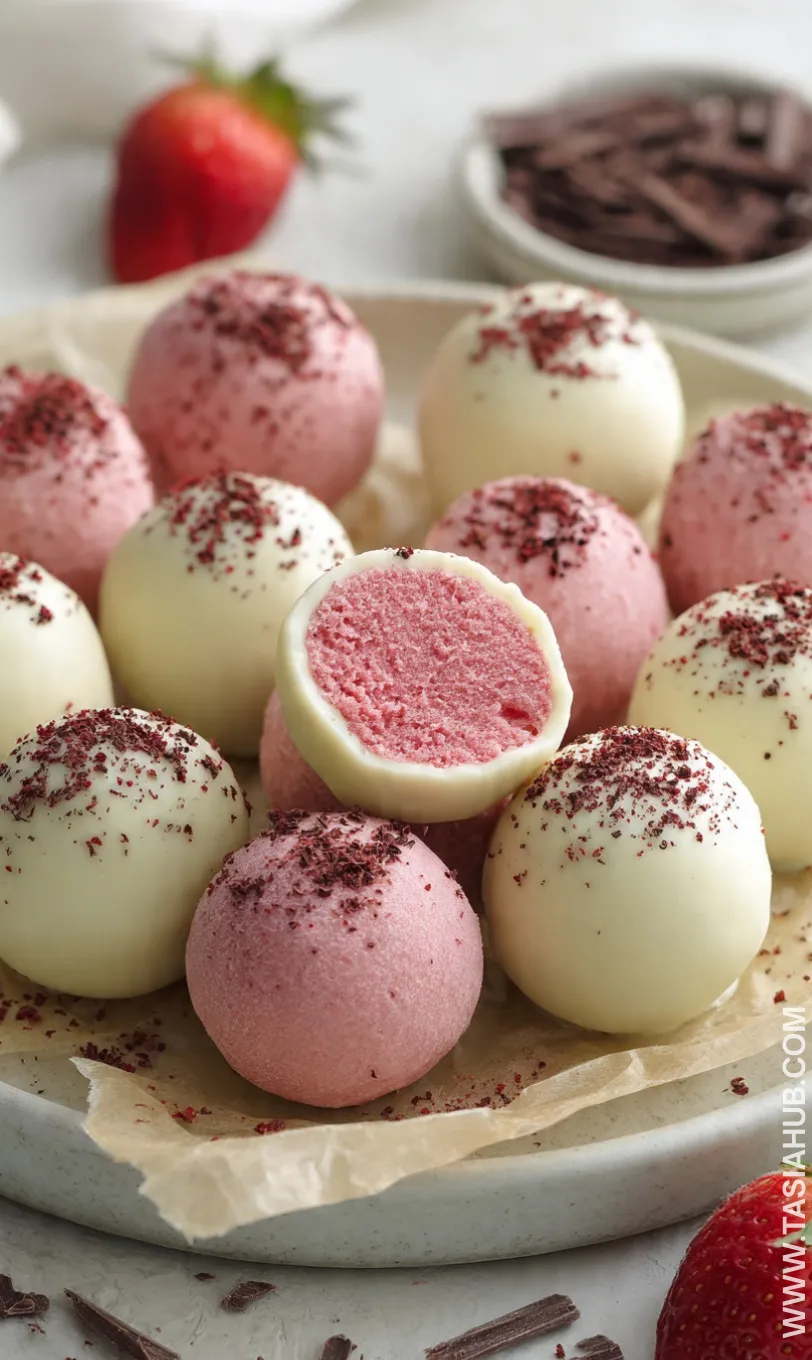
Valentine’s Day brings a wonderful excuse to indulge in something sweet and heartfelt, and these strawberry truffles are the perfect treat to celebrate the occasion. Light, creamy, and bursting with fruity flavor, they manage to feel indulgent without being overly heavy. Each bite offers a smooth chocolate coating with a soft, luscious strawberry center that melts in your mouth.
Making this strawberry truffle dessert at home is easier than you might think. With just a handful of ingredients and a little patience, you can create treats that look like they came from a boutique chocolate shop. The freshness of the strawberries paired with creamy chocolate transforms a simple snack into a luxurious experience.
One of the best things about fruit truffles is how versatile they are. You can enjoy them as a sweet treat alongside a cup of coffee, serve them as part of a dessert platter, or even wrap a few up as a thoughtful gift for friends and loved ones. They bring a touch of elegance to any table, and the homemade touch makes them feel extra special.
Learning how to make strawberry truffles is also a fun kitchen project, especially if you enjoy experimenting with flavors and textures. From melting the chocolate to shaping the delicate spheres, each step has its own little reward. Plus, there’s something satisfying about seeing a batch of glossy, perfectly shaped truffles come together from scratch.
Why You’ll Love It
- Fresh and Fruity Flavor – The natural sweetness of ripe strawberries shines through in every bite, making these truffles feel light, refreshing, and satisfying. They’re a fruit truffle that doesn’t rely on heavy creams or artificial flavorings.
- Perfect for Gifting – Homemade strawberry truffles make a thoughtful, personal gift. Arrange them in a pretty box or wrap them in parchment paper, and you’ve got a Valentine’s day dessert that’s as charming as it is delicious.
- Impress Without Stress – Even if you’ve never worked with chocolate before, this recipe is approachable. Each step is simple, making it a stress-free way to create a treat that looks professionally made.
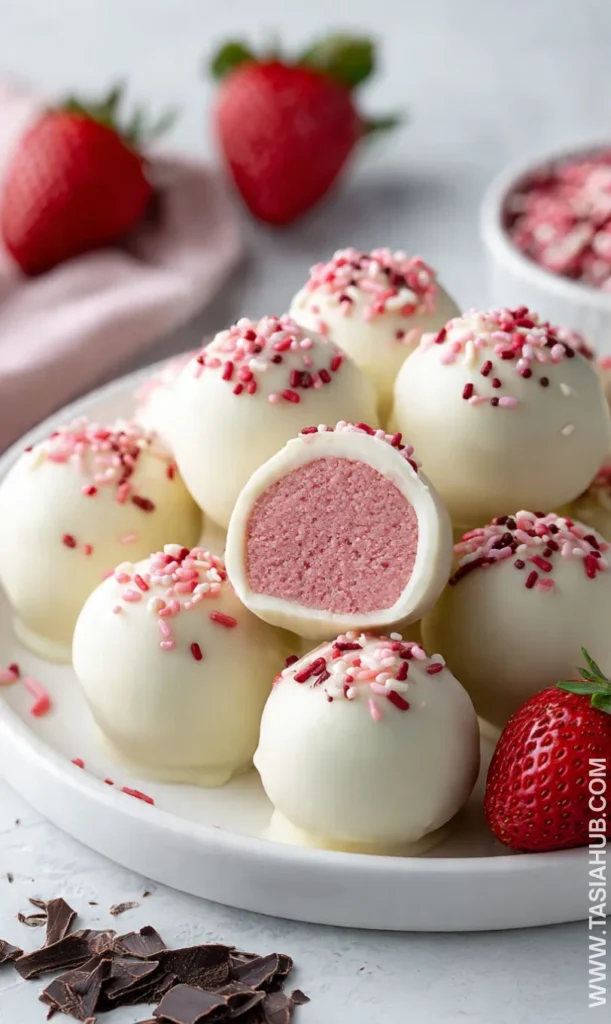
- Customizable and Fun – You can roll them in white chocolate, crushed nuts, or cocoa powder for different textures and flavors. Experimenting with coatings turns this dessert into a playful kitchen project.
- Light but Indulgent – These truffles are creamy and rich, yet they feel delicate rather than heavy. You get all the indulgence of chocolate and strawberries in a bite-sized, guilt-free portion.
Ingredient List
For the Strawberry Filling:
- 1 cup fresh strawberries, hulled and chopped
- 2 tablespoons granulated sugar
- 1 teaspoon lemon juice
- 1 teaspoon vanilla extract
For the Chocolate Coating:
- 8 ounces white or milk chocolate, chopped
- 1 teaspoon coconut oil or unsalted butter (optional, for a smoother finish)
Optional Coatings & Garnishes:
- Cocoa powder, finely chopped nuts, or sprinkles for rolling
Ingredient Notes
- I always use fresh, ripe strawberries for the filling—it makes the flavor bright and naturally sweet. Frozen berries just don’t give that same fresh taste.
- Don’t skip the lemon juice! It balances the sweetness and enhances the strawberry flavor.
- For chocolate, I usually go with high-quality chocolate like Ghirardelli or Lindt—it melts beautifully and gives a silky finish.
- A tiny bit of coconut oil or butter in the chocolate makes dipping smoother and gives that glossy, professional look.
- If you want a little extra crunch or texture, rolling the truffles in chopped nuts or cocoa powder adds a lovely contrast.
Kitchen Equipment Needed
- Mixing bowls – For combining strawberries and sugar; I love using glass bowls so I can see everything clearly.
- Food processor or blender – To puree the strawberry filling smoothly.
- Saucepan – For gently cooking the strawberry mixture if needed.
- Spatula – For folding ingredients and scraping the bowl; silicone ones work best.
- Baking sheet – To place truffles for chilling; I line mine with parchment paper for easy cleanup.
- Parchment paper – Prevents sticking and makes lifting truffles simple.
- Small cookie scoop or spoon – Helps portion the truffles evenly.
- Double boiler or heatproof bowl + saucepan – For melting chocolate without burning it; I usually use a glass bowl over a small pot of simmering water.
- Fork or dipping tool – To dip truffles in chocolate smoothly.
Instructions
Step 1: Prepare the Strawberry Filling
- Wash, hull, and chop 1 cup of fresh strawberries.
- In a small bowl, combine the chopped strawberries, 2 tablespoons sugar, 1 teaspoon lemon juice, and 1 teaspoon vanilla extract.
- Use a blender or food processor to puree the mixture until smooth.
Pro Tip: If the mixture feels too watery, simmer it in a small saucepan over low heat for 3–4 minutes until slightly thickened. This helps the truffles hold their shape better.
Step 2: Chill the Strawberry Mixture
- Transfer the pureed strawberries to a bowl.
- Cover tightly with plastic wrap and place in the freezer for 30–45 minutes.
- Check every 15 minutes and stir gently to make sure it firms evenly.
Pro Tip: The mixture should be firm enough to scoop but still soft enough to shape. This balance is key for perfect truffles.
Step 3: Shape the Truffles
- Use a small cookie scoop or spoon to portion the chilled strawberry mixture.
- Roll each portion gently between your palms into a smooth ball.
- Place each ball on a parchment-lined baking sheet.
Pro Tip: Keep your hands slightly cool and dry; warm hands can make the truffles sticky. A quick chill of your hands under cold water works wonders.
Step 4: Melt the Chocolate
- Chop 8 ounces of chocolate and place it in a heatproof bowl.
- Melt the chocolate using a double boiler or by placing the bowl over a saucepan of simmering water.
- Stir continuously until the chocolate is smooth and glossy.
Pro Tip: Avoid letting water touch the chocolate, or it will seize. Stir slowly for a silky finish.
Step 5: Dip the Truffles in Chocolate
- Using a fork or dipping tool, carefully dip each strawberry ball into the melted chocolate.
- Let any excess chocolate drip back into the bowl.
- Place the coated truffle back on the parchment-lined baking sheet.
Pro Tip: Work quickly but gently. If the chocolate starts to thicken, briefly rewarm it over the double boiler to keep it smooth.
Step 6: Add Optional Coatings
- While the chocolate is still soft, roll the truffles in cocoa powder, chopped nuts, or sprinkles if desired.
- Gently press the coating to help it stick.
Step 7: Chill and Serve
- Place the finished truffles in the refrigerator for at least 20 minutes to set fully.
- Serve slightly chilled for the best texture.
Pro Tip: Store leftover truffles in an airtight container in the fridge for up to a week. Bring them to room temperature for 10 minutes before serving to enjoy the creamy center.
Tips and Tricks for Success
- Chill in stages – Firm the strawberry mixture before shaping, then chill again after dipping. It helps maintain perfect round shapes.
- Work in small batches – Chocolate can thicken quickly. Dipping 4–5 truffles at a time keeps the coating smooth.
- Keep hands cool – Warm hands can make the truffles sticky. Wash and dry your hands or chill them briefly if needed.
- Use quality chocolate – It melts evenly and gives a glossy finish, making your homemade strawberry truffles look professional.
- Don’t rush chilling – Proper chilling ensures the filling sets nicely and the chocolate doesn’t crack.
- Stir chocolate gently – Avoid introducing water, or it may seize.
Ingredient Substitutions and Variations
- Strawberries: You can swap with raspberries or blueberries for a different fruit truffle flavor.
- Chocolate: Use dark chocolate for a richer taste or white chocolate for a sweeter, creamier finish.
- Coconut oil or butter: Skip it if you prefer pure chocolate; it’s optional but adds smoothness.
- Sweeteners: Honey or maple syrup can replace sugar in the filling if you want a natural alternative.
- Coatings: Roll truffles in crushed freeze-dried strawberries, desiccated coconut, or cocoa powder for a fun twist.
- Add-ins: A tiny pinch of sea salt or a few chocolate chips in the strawberry mixture can create a flavor boost.
Serving Suggestions
- I love arranging these strawberry truffles on a small decorative plate alongside a glass of sparkling rosé—it makes Valentine’s day feel extra special.
- Serve a few truffles with a cup of hot coffee or tea for a mid-afternoon treat that’s both indulgent and refreshing.
- Place them in a small gift box tied with ribbon as a sweet surprise for a friend or loved one—they’re almost too pretty to eat!
- Pair the truffles with fresh berries and a scoop of vanilla ice cream for a simple but elegant dessert plate.
- Create a dessert platter with other chocolate treats, like chocolate-covered strawberries or mini brownies, and let the truffles be the fruity star.
Storage and Reheating Instructions
- Refrigerator: Store truffles in an airtight container for up to 1 week.
- Freezer: Freeze for up to 1 month. Thaw in the fridge for a few hours before serving.
- Room temperature: Let truffles sit at room temperature for 10–15 minutes before serving for a soft, creamy center.
- Avoid heat: Keep away from direct sunlight or warm areas, or the chocolate may melt or bloom.
- Handling: Use a fork or tweezers when plating frozen truffles to avoid fingerprints on the chocolate.
Frequently Asked Questions
Can I use frozen strawberries for the truffles?
Yes, you can! Just make sure to thaw them completely and drain any excess liquid before pureeing. This prevents the filling from being too watery.
How long do homemade strawberry truffles last?
Stored in an airtight container in the fridge, they last about a week. You can also freeze them for up to a month and enjoy them later.
Can I make them without chocolate?
Absolutely! You can roll the strawberry balls in crushed freeze-dried strawberries, nuts, or cocoa powder for a chocolate-free fruit truffle version.
Why is my chocolate seizing when melting?
Chocolate can seize if it comes into contact with water or steam. Use a dry bowl, stir slowly, and keep water away to get a smooth coating.
Can I make these truffles ahead of time?
Yes! You can prepare the filling and dip them in chocolate a day or two ahead. Keep them chilled until ready to serve for the best texture.
Can I add flavors to the filling?
Definitely. A splash of liqueur, a pinch of cinnamon, or even some finely grated orange zest can elevate your homemade strawberry truffles beautifully.
Did you try this recipe? Let me know in the comments how it turned out!
Strawberry Truffles
Equipment
- Mixing Bowls
- Food Processor or Blender
- Saucepan
- Spatula
- Baking Sheet
- Parchment paper
- Small cookie scoop or spoon
- Double boiler or heatproof bowl + saucepan
- Fork or dipping tool
Ingredients
For the Strawberry Filling:
- 1 cup fresh strawberries hulled and chopped
- 2 tablespoons granulated sugar
- 1 teaspoon lemon juice
- 1 teaspoon vanilla extract
For the Chocolate Coating:
- 8 ounces white or milk chocolate chopped
- 1 teaspoon coconut oil or unsalted butter optional, for a smoother finish
Optional Coatings & Garnishes:
- Cocoa powder finely chopped nuts, or sprinkles for rolling
Instructions
Step 1: Prepare the Strawberry Filling
- Wash, hull, and chop 1 cup of fresh strawberries.
- In a small bowl, combine the chopped strawberries, 2 tablespoons sugar, 1 teaspoon lemon juice, and 1 teaspoon vanilla extract.
- Use a blender or food processor to puree the mixture until smooth.
- Pro Tip: If the mixture feels too watery, simmer it in a small saucepan over low heat for 3–4 minutes until slightly thickened. This helps the truffles hold their shape better.
Step 2: Chill the Strawberry Mixture
- Transfer the pureed strawberries to a bowl.
- Cover tightly with plastic wrap and place in the freezer for 30–45 minutes.
- Check every 15 minutes and stir gently to make sure it firms evenly.
- Pro Tip: The mixture should be firm enough to scoop but still soft enough to shape. This balance is key for perfect truffles.
Step 3: Shape the Truffles
- Use a small cookie scoop or spoon to portion the chilled strawberry mixture.
- Roll each portion gently between your palms into a smooth ball.
- Place each ball on a parchment-lined baking sheet.
- Pro Tip: Keep your hands slightly cool and dry; warm hands can make the truffles sticky. A quick chill of your hands under cold water works wonders.
Step 4: Melt the Chocolate
- Chop 8 ounces of chocolate and place it in a heatproof bowl.
- Melt the chocolate using a double boiler or by placing the bowl over a saucepan of simmering water.
- Stir continuously until the chocolate is smooth and glossy.
- Pro Tip: Avoid letting water touch the chocolate, or it will seize. Stir slowly for a silky finish.
Step 5: Dip the Truffles in Chocolate
- Using a fork or dipping tool, carefully dip each strawberry ball into the melted chocolate.
- Let any excess chocolate drip back into the bowl.
- Place the coated truffle back on the parchment-lined baking sheet.
- Pro Tip: Work quickly but gently. If the chocolate starts to thicken, briefly rewarm it over the double boiler to keep it smooth.
Step 6: Add Optional Coatings
- While the chocolate is still soft, roll the truffles in cocoa powder, chopped nuts, or sprinkles if desired.
- Gently press the coating to help it stick.
Step 7: Chill and Serve
- Place the finished truffles in the refrigerator for at least 20 minutes to set fully.
- Serve slightly chilled for the best texture.
- Pro Tip: Store leftover truffles in an airtight container in the fridge for up to a week. Bring them to room temperature for 10 minutes before serving to enjoy the creamy center.
Notes
Nutritional Value (Per Truffle – Approximate)
- Calories: 90–110 kcal
- Carbohydrates: 10–12 g
- Sugar: 8–9 g
- Fat: 5–6 g
- Saturated Fat: 3–4 g
- Protein: 1–2 g
- Fiber: 1 g
- Sodium: 5–10 mg