Shamrock Rice Krispie Treats
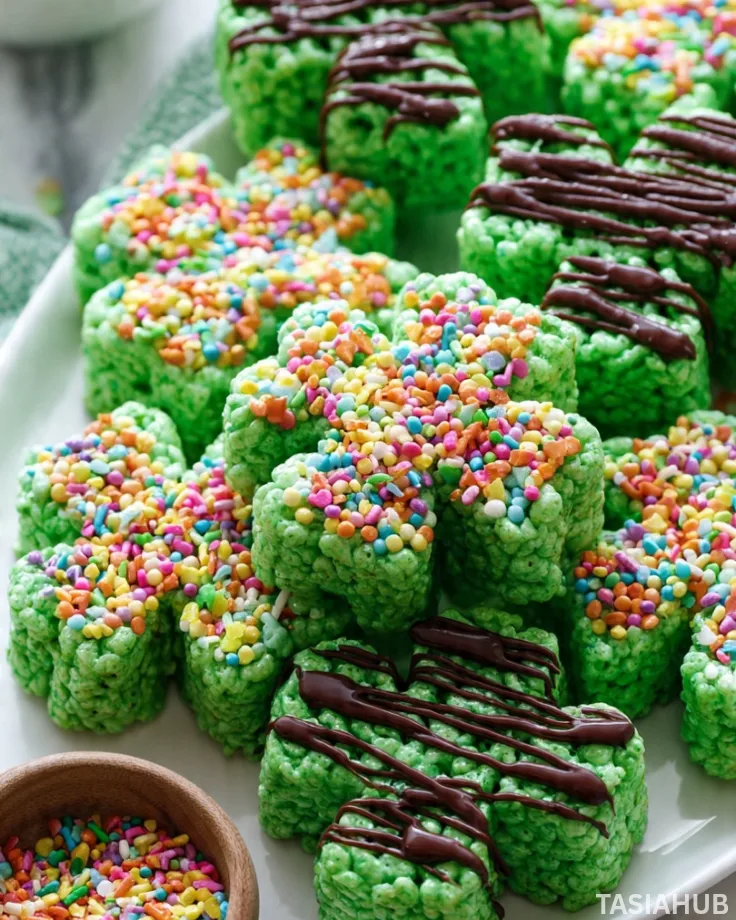
Spring celebrations call for fun, colorful treats, and Shamrock Rice Krispie Treats are the perfect way to bring a little luck to your dessert table. These green, chewy, and sweet squares are easy to make, fun to shape, and always a hit with kids and adults alike. Whether you’re celebrating St Patrick’s Day or just want a festive snack, these treats bring a playful twist to a classic favorite.
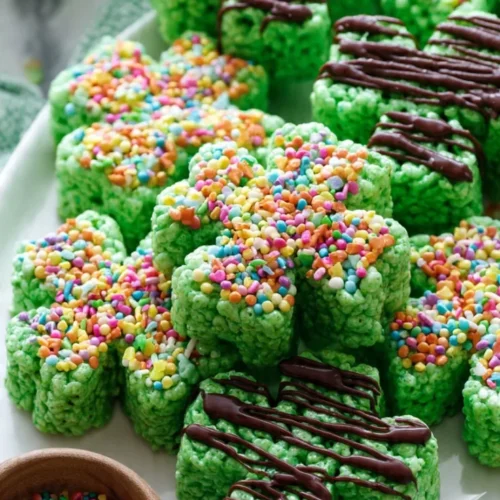
Rice Krispie treats are a nostalgic comfort food for many of us, but adding a vibrant green hue and shaping them like shamrocks instantly transforms them into a festive centerpiece. The buttery marshmallow base melts perfectly into the crispy cereal, and the green coloring is just enough to make them feel extra special without overpowering the classic taste. These are definitely some of the best Rice Krispie treats you can make at home.
These St Patrick’s Day treats are ideal for school parties, family gatherings, or even as a last-minute dessert for friends stopping by. The bright green color makes them visually irresistible, and shaping them into shamrocks gives everyone a smile before they even take a bite. You can even pair them with other Easter Rice Krispie treats if you want a spring-themed dessert spread that’s both colorful and playful.
Another reason these treats are so beloved is how versatile they are. You can leave them as classic squares, cut them into shamrock shapes, or even dress them up with sprinkles, chocolate drizzle, or edible glitter for extra fun. Kids especially love helping to shape and decorate them, making these St Patrick’s Day treats for kids both a craft and a snack in one.
Why You’ll Love It
- Quick and easy to make: These green Rice Krispie treats come together in under 15 minutes, making them perfect for last-minute St Patrick’s Day celebrations or a fun weekend baking activity with the kids.
- Perfectly festive: Shaping them into shamrocks and adding that bright green color instantly turns classic treats into St Patrick’s Day rice Krispie treats that look as good as they taste.
- Kid-friendly fun: From stirring the marshmallow mixture to cutting out shamrock shapes, kids will love helping—and, of course, eating—them. These are some of the most delightful St Patrick’s Day treats for kids around.
- Customizable for any celebration: Sprinkle them with gold sugar, drizzle with chocolate, or leave them plain—the base recipe is versatile enough to double as Easter Rice Krispie treats or just a colorful snack for spring.
- Deliciously nostalgic: Soft, chewy, and crisp all at once, these green Rice Krispie treats capture the comforting taste of a childhood favorite while adding a festive twist that adults and kids alike will enjoy.
Ingredient List
For the Rice Krispie Base:
- 6 cups Rice Krispies cereal
- 4 cups mini marshmallows
- 3 tablespoons unsalted butter
- 1 teaspoon vanilla extract
- Green food coloring (about 10–15 drops, or until desired color)
Optional Decorations:
- Sprinkles, chocolate drizzle, or edible glitter for topping
Ingredient Notes
- I always use mini marshmallows—they melt faster and make the treats extra soft and chewy.
- Don’t skip the butter! It adds richness and keeps the treats from sticking.
- Green food coloring is key for those festive Shamrock vibes. Add a few drops at a time until you get the perfect shade.
- Vanilla extract gives a subtle flavor boost that makes these the best Rice Krispie treats you’ll ever taste.
- Optional decorations are just for fun, but a little sprinkle of gold sugar feels magically St Patrick’s Day–ready!
Kitchen Equipment Needed
- Large saucepan: To melt the butter and marshmallows together smoothly—I love using a heavy-bottomed one so nothing burns.
- Wooden spoon or silicone spatula: Perfect for stirring without scratching your pan.
- 9×13-inch baking pan: To press the mixture into shape; I always line mine with parchment for easy removal.
- Measuring cups and spoons: For accuracy—especially with marshmallows and butter.
- Mixing bowl (optional): Great if you want extra space to stir in green coloring or decorations.
- Shamrock cookie cutter: Makes shaping the treats easy and fun, especially for kids.
Instructions
1. Prep Your Pan and Ingredients
- Line a 9×13-inch baking pan with parchment paper. This makes it super easy to lift the treats out later.
- Measure out your Rice Krispies, marshmallows, butter, and green food coloring so everything is ready to go.
- Pro tip: Have your cookie cutter and decorations nearby if you plan to shape and decorate the treats—they’re easier to work with while the mixture is still warm.
2. Melt the Butter
- Place 3 tablespoons of butter in a large saucepan over low-medium heat.
- Stir gently until fully melted and smooth.
- Pro tip: Keep the heat moderate to avoid browning the butter; you just want it melted and creamy.
3. Add Marshmallows
- Add 4 cups of mini marshmallows to the melted butter.
- Stir continuously until the marshmallows are fully melted and combined with the butter.
- Pro tip: Use a silicone spatula or wooden spoon and keep stirring—this prevents lumps and ensures a smooth, stretchy base.
4. Add Vanilla and Green Coloring
- Remove the pan from heat.
- Stir in 1 teaspoon of vanilla extract.
- Add green food coloring gradually, mixing until you reach your desired shade of green.
- Pro tip: Start with 10 drops and add more if needed—you can always make it brighter, but it’s tricky to fix if it gets too dark.
5. Combine with Rice Krispies
- Pour the Rice Krispies cereal into the marshmallow mixture.
- Fold gently until every piece is coated evenly in the green, gooey goodness.
- Pro tip: Don’t over-stir, or the cereal can get crushed and lose that perfect crispy texture.
6. Press Into the Pan
- Transfer the mixture into your prepared baking pan.
- Use a spatula (or a piece of parchment) to press it down evenly.
- Pro tip: Lightly butter your spatula or hands to prevent sticking—this helps get a smooth, even surface for cutting or shaping.
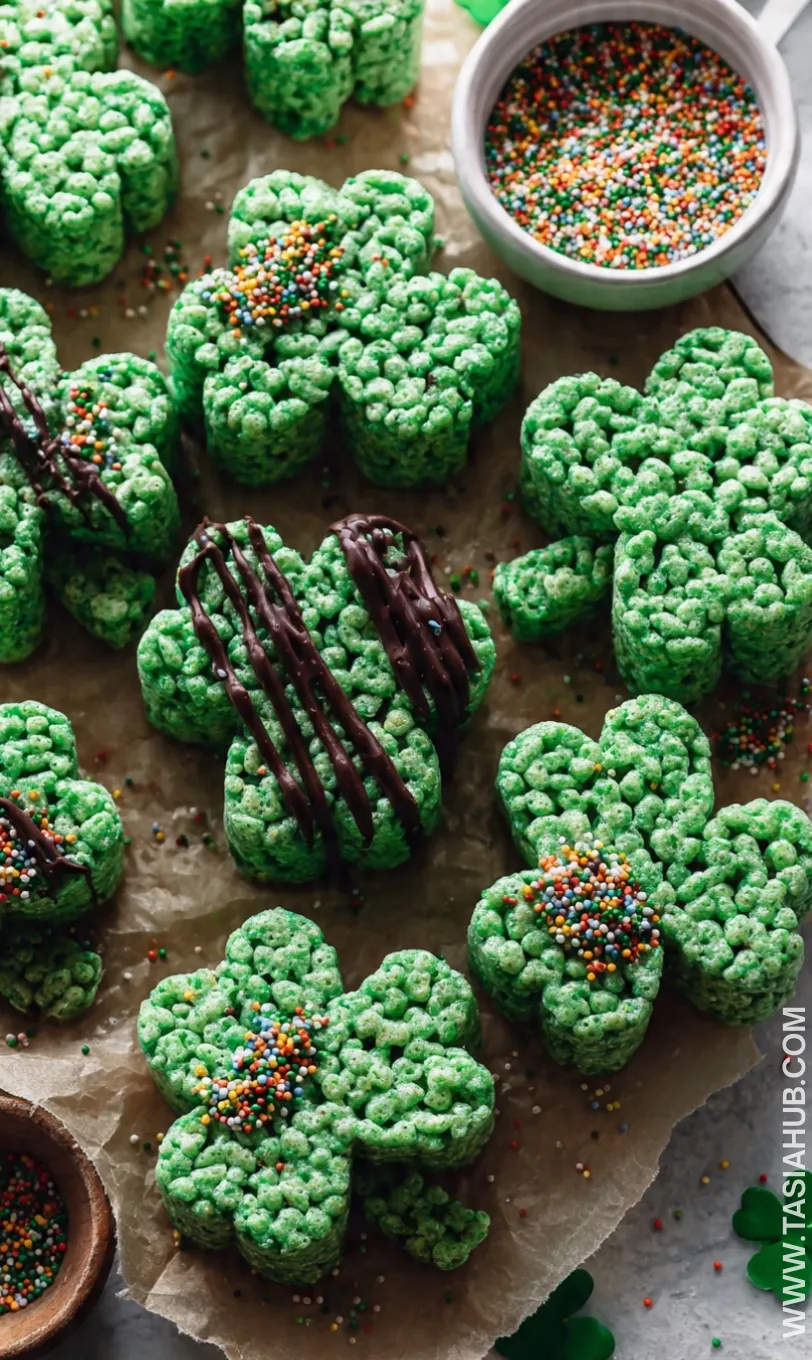
7. Shape and Decorate
- If you’re making shamrocks, let the mixture cool for 10–15 minutes—still slightly warm is ideal for cutting.
- Use your cookie cutter to press out shamrock shapes, or cut squares if you prefer classic treats.
- Decorate with sprinkles, chocolate drizzle, or edible glitter if desired.
8. Let Them Set
- Allow the treats to fully set at room temperature, about 30 minutes.
- Once firm, enjoy or store in an airtight container for up to 3 days.
Tips and Tricks for Success
- Use fresh marshmallows: Old marshmallows don’t melt as smoothly, which can make your treats a bit lumpy.
- Don’t overheat: Keep the butter and marshmallow mixture on medium-low heat to prevent burning.
- Work quickly: Once the cereal is added, the mixture sets fast, so press and shape it promptly.
- Lightly grease tools: Butter your spatula or hands when pressing the mixture to avoid sticking.
- Cool slightly before cutting: Let the treats rest for 10–15 minutes before shaping—they’ll hold together better.
- Store properly: Keep them in an airtight container to maintain that chewy, crispy texture.
Ingredient Substitutions and Variations
- Butter alternatives: You can use margarine or coconut oil if you want a dairy-free version.
- Marshmallow substitutes: Vegan marshmallows work perfectly and still give you that gooey texture.
- Cereal swaps: Try puffed quinoa or gluten-free crispy rice for a fun twist.
- Color variations: Mix in yellow or blue food coloring for pastel Easter Rice Krispie treats.
- Add-ins: Chocolate chips, rainbow sprinkles, or crushed candy can make your green Rice Krispie treats even more festive.
- Flavor boosters: A drop of peppermint or almond extract can elevate these St Patrick’s Day rice Krispie treats to the next level.
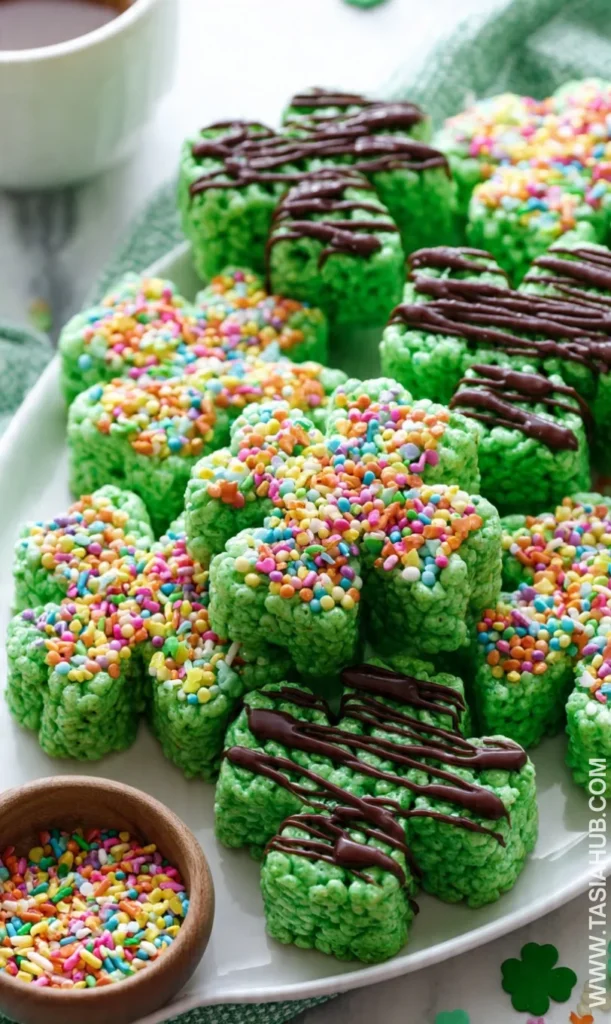
Serving Suggestions
- I love serving these Shamrock Rice Krispie treats alongside a cup of hot cocoa—it’s a cozy combo for a festive afternoon snack.
- They’re perfect for school parties—arranged on a platter, the shamrock shapes practically disappear in seconds!
- Pair them with other St Patrick’s Day treats for kids, like green cupcakes or rainbow fruit skewers, for a cheerful dessert spread.
- For a fun twist, serve them with a drizzle of melted chocolate or caramel—it adds a rich contrast to the chewy cereal.
- I sometimes stack them with a scoop of vanilla ice cream for a playful, indulgent St Patrick’s Day dessert that everyone loves.
Storage and Reheating Instructions
- Store in an airtight container at room temperature for up to 3 days—perfect for making ahead of a party.
- Keep them away from direct sunlight or heat to prevent melting or sticking.
- You can refrigerate for up to a week if you want them extra firm; just bring to room temperature before serving.
- For a soft, fresh-from-the-oven feel, microwave individual treats for 5–10 seconds.
- Avoid freezing if possible, as the texture can become slightly crumbly once thawed.
Frequently Asked Questions
Can I make these treats ahead of time?
Absolutely! You can prepare them a day in advance and store in an airtight container at room temperature. They’ll stay soft and chewy for a couple of days.
Can I use regular-sized marshmallows instead of mini?
Yes, but mini marshmallows melt more evenly and quickly. If using regular ones, cut them into smaller pieces for best results.
How do I get the green color just right?
Start with 10 drops of green food coloring and mix thoroughly. Add more gradually until you reach your desired shade—it’s easier to darken than lighten!
Can I make these vegan or dairy-free?
Definitely! Use vegan marshmallows and a plant-based butter like coconut oil. They still hold together and taste delicious.
Can I store them in the fridge?
Yes, for up to a week. Just bring them to room temperature before serving to get that soft, chewy texture back.
Any tips for shaping them into shamrocks?
Let the mixture cool for 10–15 minutes—it should be warm but not hot. Press your cookie cutter firmly, and lightly grease it if sticking occurs.
Did you try this recipe? Let me know in the comments how your Shamrock Rice Krispie treats turned out! I’d love to hear which decorations or variations you tried for St Patrick’s Day.
Shamrock Rice Krispie Treats
Equipment
- Large saucepan
- Wooden Spoon or Silicone Spatula
- 9×13-inch Baking Pan
- Measuring cups and spoons
- Mixing bowl (optional)
- Shamrock cookie cutter
Ingredients
For the Rice Krispie Base:
- 6 cups Rice Krispies cereal
- 4 cups mini marshmallows
- 3 tablespoons unsalted butter
- 1 teaspoon vanilla extract
- Green food coloring about 10–15 drops, or until desired color
Optional Decorations:
- Sprinkles chocolate drizzle, or edible glitter for topping
Instructions
Prep Your Pan and Ingredients
- Line a 9×13-inch baking pan with parchment paper. This makes it super easy to lift the treats out later.
- Measure out your Rice Krispies, marshmallows, butter, and green food coloring so everything is ready to go.
- Pro tip: Have your cookie cutter and decorations nearby if you plan to shape and decorate the treats—they’re easier to work with while the mixture is still warm.
Melt the Butter
- Place 3 tablespoons of butter in a large saucepan over low-medium heat.
- Stir gently until fully melted and smooth.
- Pro tip: Keep the heat moderate to avoid browning the butter; you just want it melted and creamy.
Add Marshmallows
- Add 4 cups of mini marshmallows to the melted butter.
- Stir continuously until the marshmallows are fully melted and combined with the butter.
- Pro tip: Use a silicone spatula or wooden spoon and keep stirring—this prevents lumps and ensures a smooth, stretchy base.
Add Vanilla and Green Coloring
- Remove the pan from heat.
- Stir in 1 teaspoon of vanilla extract.
- Add green food coloring gradually, mixing until you reach your desired shade of green.
- Pro tip: Start with 10 drops and add more if needed—you can always make it brighter, but it’s tricky to fix if it gets too dark.
Combine with Rice Krispies
- Pour the Rice Krispies cereal into the marshmallow mixture.
- Fold gently until every piece is coated evenly in the green, gooey goodness.
- Pro tip: Don’t over-stir, or the cereal can get crushed and lose that perfect crispy texture.
Press Into the Pan
- Transfer the mixture into your prepared baking pan.
- Use a spatula (or a piece of parchment) to press it down evenly.
- Pro tip: Lightly butter your spatula or hands to prevent sticking—this helps get a smooth, even surface for cutting or shaping.
Shape and Decorate
- If you’re making shamrocks, let the mixture cool for 10–15 minutes—still slightly warm is ideal for cutting.
- Use your cookie cutter to press out shamrock shapes, or cut squares if you prefer classic treats.
- Decorate with sprinkles, chocolate drizzle, or edible glitter if desired.
Let Them Set
- Allow the treats to fully set at room temperature, about 30 minutes.
- Once firm, enjoy or store in an airtight container for up to 3 days.
Notes
Nutritional Value (per serving, approximate):
- Calories: 180–200 kcal
- Carbohydrates: 35 g
- Sugars: 20 g
- Fat: 4–5 g
- Saturated Fat: 2–3 g
- Protein: 1–2 g
- Fiber: <1 g
- Sodium: 90–120 mg