Orange Creamsicle Cheesecake
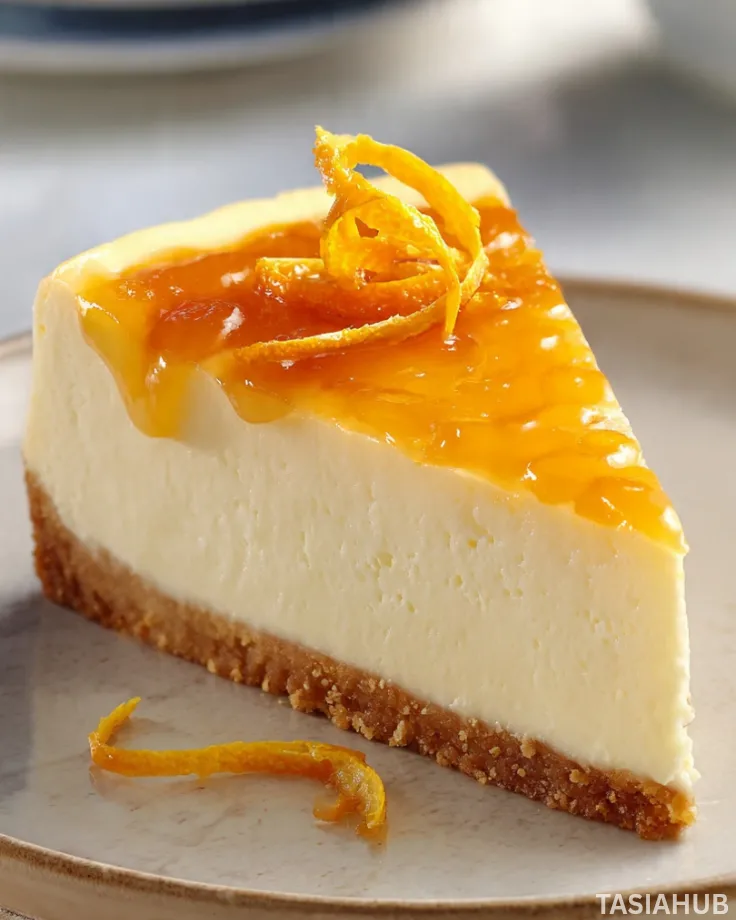
Bright, creamy, and perfectly sweet, this orange creamsicle cheesecake is like a little bite of summer in every forkful. Imagine the smooth richness of classic cheesecake paired with the bright, citrusy flavor of fresh oranges—it’s indulgent yet light, and completely irresistible. It’s the kind of dessert that instantly lifts your mood, whether you’re serving it at a family gathering or enjoying a quiet treat on your own.
What makes this dessert extra special is that it’s completely no-bake. That means no fussing with hot ovens or waiting for the perfect cheesecake set—it’s all about letting the fridge do the magic. This no bake orange creamsicle cheesecake is incredibly easy to prepare, yet it feels like something straight from a fancy bakery. The creamy layers are velvety, with a subtle tang from the orange that balances the sweetness beautifully.
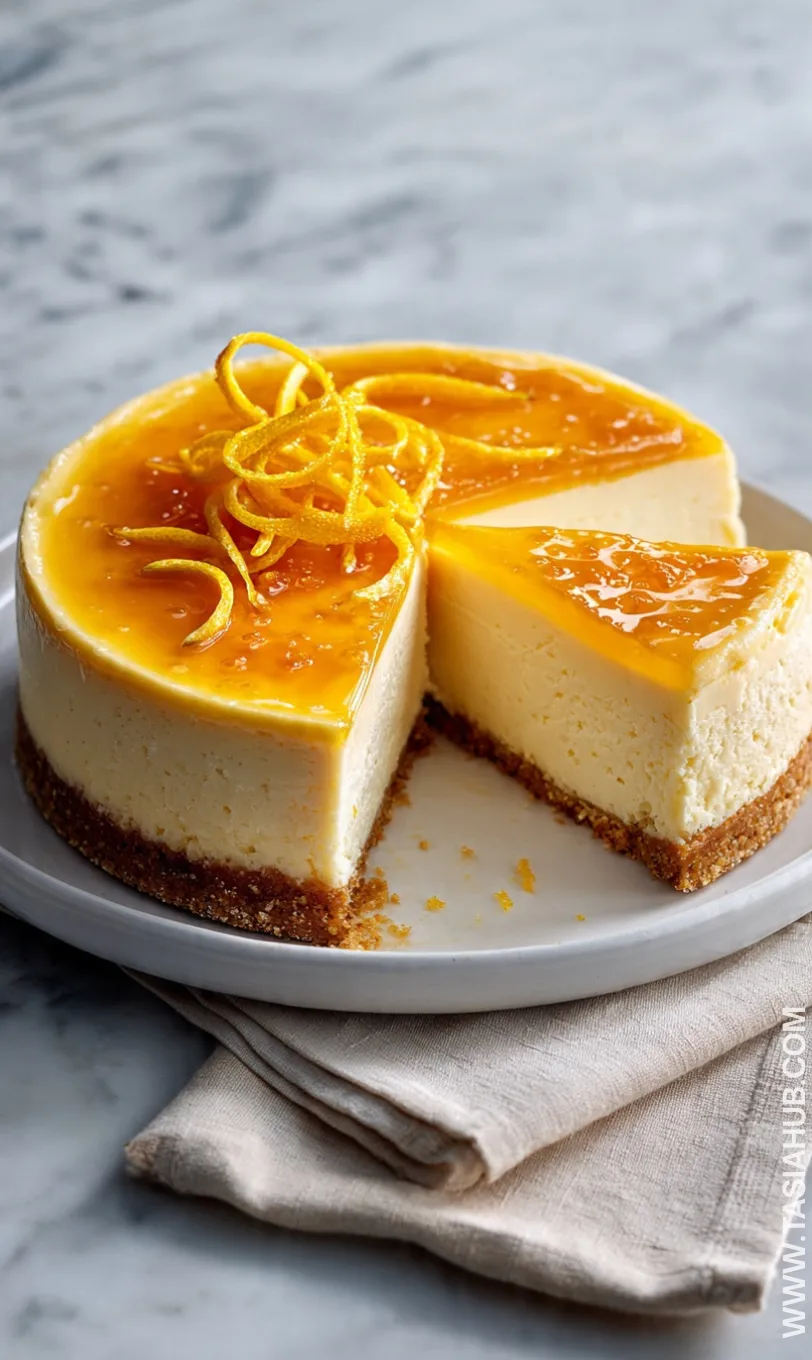
I love how versatile this cheesecake is. You can serve it in a traditional round pan, in a springform pan for elegant slices, or even in individual cups for a fun, casual presentation. Topped with a drizzle of orange glaze or whipped cream, it becomes a show-stopping centerpiece for any dessert table. It’s an orange dessert that never fails to impress, both in taste and appearance.
Beyond its flavor, the bright orange color just makes this cheesecake so cheerful. It’s perfect for spring and summer celebrations, but honestly, any time is a good time for a slice of orange creamsicle cheesecake. Kids and adults alike will love the nostalgic creamsicle taste, making it a crowd-pleaser for birthdays, holidays, or even a weekend treat.
This orange creamsicle cheesecake recipe is simple to follow, requires minimal ingredients, and delivers maximum flavor. Once you try it, I guarantee it will become a favorite in your dessert rotation.
Why You’ll Love It
- No oven, no stress: This cheesecake sets in the fridge, so you don’t have to worry about baking or overcooking. It’s perfect for hot days when turning on the oven feels impossible.
- Bright, refreshing flavor: The combination of creamy cheesecake and zesty orange creates a dessert that’s both indulgent and refreshing—a true pick-me-up for your taste buds.
- Quick and easy prep: With minimal steps and ingredients, this orange creamsicle cheesecake recipe comes together in no time, making it ideal for last-minute gatherings or a spontaneous treat.
- Kid-friendly nostalgia: The flavors bring back memories of classic orange creamsicles, making it a hit with both kids and adults. Everyone will ask for seconds!
- Versatile presentation: Serve it as a traditional cheesecake, in elegant slices, or even in mini cups for a fun, party-ready dessert that looks as good as it tastes.
Ingredient List
For the Crust:
- 1 ½ cups graham cracker crumbs
- ¼ cup granulated sugar
- 6 tbsp unsalted butter, melted
For the Cheesecake Filling:
- 16 oz (450 g) cream cheese, softened
- 1 cup powdered sugar
- 1 tsp vanilla extract
- 1 cup heavy whipping cream
- ½ cup orange juice, freshly squeezed
- 1 tbsp orange zest
For the Orange Glaze (Optional):
- ¼ cup orange marmalade
- 1 tsp water
Ingredient Notes
- I always use full-fat cream cheese for the creamiest, dreamiest texture—it makes a huge difference!
- Don’t skip the orange zest—it really amplifies that bright, citrusy flavor.
- Freshly squeezed orange juice tastes way better than store-bought. Trust me, your cheesecake will thank you.
- For the crust, I like using honey graham crackers—adds just a hint of extra sweetness.
- The orange marmalade for the glaze is optional but adds that perfect glossy finish and a punch of citrus flavor.
Kitchen Equipment Needed
- 9-inch springform pan – Perfect for easy removal of the cheesecake. I love using a non-stick one for zero sticking.
- Mixing bowls – For combining crust and filling ingredients separately. A set of glass bowls works great.
- Hand mixer or stand mixer – Makes the cheesecake filling silky smooth. I always reach for my hand mixer for quick prep.
- Measuring cups and spoons – For accurate measurements; baking is all about precision!
- Rubber spatula – Helps scrape every last bit of creamy filling into the pan. My favorite is the flexible silicone kind.
- Whisk – Useful for blending the orange juice and marmalade glaze evenly.
- Zester or microplane – Essential for getting fresh orange zest without the bitter white pith.
Instructions
Step 1: Make the Crust
- In a medium bowl, combine graham cracker crumbs and sugar.
- Pour in the melted butter and mix until all crumbs are evenly coated and look like wet sand.
- Press the mixture firmly into the bottom of a 9-inch springform pan. Use the back of a spoon or a flat-bottomed glass for an even layer.
Pro tip: Pressing the crust tightly ensures it holds together when slicing later.
Step 2: Prepare the Cheesecake Filling
- In a large bowl, beat the softened cream cheese until smooth and creamy using a hand mixer.
- Add powdered sugar and vanilla extract, beating until fully combined.
- Stir in orange juice and orange zest. Mix on low speed until smooth.
Pro tip: Whisk continuously to prevent lumps and ensure the orange juice blends evenly.
Step 3: Whip the Cream
- In a separate bowl, whip the heavy cream until soft peaks form.
- Gently fold the whipped cream into the cream cheese mixture using a spatula. Be careful not to deflate the air—this keeps the cheesecake light and fluffy.
Step 4: Assemble the Cheesecake
- Pour the cheesecake filling over the prepared crust.
- Smooth the top with a spatula for an even finish.
- Cover the pan with plastic wrap and refrigerate for at least 4 hours, or overnight for the best results.
Pro tip: Chilling overnight gives the cheesecake a firmer texture and richer flavor.
Step 5: Add the Orange Glaze (Optional)
- In a small saucepan, heat the orange marmalade with water over low heat until smooth.
- Let it cool slightly, then spoon or brush over the chilled cheesecake.
- Return to the fridge for 10–15 minutes to set the glaze before serving.
Step 6: Serve and Enjoy
- Carefully remove the cheesecake from the springform pan.
- Slice with a warm knife for clean edges.
- Serve as is, or add whipped cream or extra orange zest for garnish.
Tips and Tricks for Success
- Use room temperature cream cheese—it blends more easily and keeps the filling silky smooth.
- Don’t rush the chilling time; at least 4 hours is key for the cheesecake to set properly.
- For clean slices, warm your knife under hot water and wipe it between cuts.
- Press the crust firmly into the pan—it prevents crumbling when slicing.
- Fold the whipped cream gently into the filling to keep it light and airy.
Ingredient Substitutions and Variations
- Crust: Swap graham crackers for digestive biscuits or vanilla wafer crumbs for a different flavor.
- Sweetener: Powdered sugar can be replaced with honey or maple syrup, but adjust for sweetness.
- Orange Juice: Tangerine or mandarin juice works for a sweeter, less tangy flavor.
- Whipped Cream: Use coconut cream for a dairy-free option.
- Toppings: Add chocolate drizzle, fresh orange slices, or a sprinkle of candied orange peel for extra flair.
- Mini Cheesecakes: Make in cupcake liners for individual servings—perfect for parties or gifts.
Serving Suggestions
- I love serving this cheesecake chilled with a dollop of whipped cream and a few fresh orange slices—it makes each bite feel extra refreshing.
- Pair a slice with a hot cup of Earl Grey tea or coffee for a perfect afternoon treat.
- For parties, cut into small squares and serve on a dessert platter with chocolate shavings—it’s always a crowd-pleaser.
- Add a drizzle of extra orange glaze on top before serving to give it a glossy, festive look.
- Serve alongside vanilla ice cream or a scoop of sorbet for a creamy-citrus dessert duo that’s hard to resist.
Storage and Reheating Instructions
- Store leftover cheesecake covered in the fridge for up to 5 days—it stays creamy and fresh.
- For longer storage, wrap tightly and freeze for up to 2 months; thaw in the fridge overnight before serving.
- Keep the orange glaze separate if freezing, and add it fresh when ready to serve.
- Slice with a warm knife for clean cuts even after refrigeration.
- No need to reheat—this cheesecake is best served cold for the perfect creamy texture.
Frequently Asked Questions
Can I make this cheesecake ahead of time?
Absolutely! This no bake orange creamsicle cheesecake actually tastes better when made a day ahead because the flavors have time to meld. Just keep it covered in the fridge.
Can I use store-bought orange juice?
Yes, but fresh-squeezed orange juice really makes the flavor pop. Store-bought works in a pinch, just try to pick one without added sugar for the best balance.
How do I get clean slices?
Warm your knife under hot water and wipe it between cuts. This helps the cheesecake slices stay neat and beautiful.
Can I make it dairy-free?
Definitely! Swap cream cheese for a dairy-free alternative and heavy cream for coconut cream. The texture is slightly different but still delicious.
Can I make individual servings?
Yes! Use cupcake liners or small jars to make mini cheesecakes. Perfect for parties or gifting.
What’s the best way to store leftovers?
Keep it covered in the fridge for up to 5 days, or freeze for up to 2 months. Add any glaze fresh after thawing.
Did you try this recipe? Let me know in the comments how it turned out!
Orange Creamsicle Cheesecake
Equipment
- 9-inch springform pan
- Mixing Bowls
- Hand mixer or stand mixer
- Measuring cups and spoons
- Rubber spatula
- Whisk
- Zester or microplane
Ingredients
For the Crust:
- 1 ½ cups graham cracker crumbs
- ¼ cup granulated sugar
- 6 tbsp unsalted butter melted
For the Cheesecake Filling:
- 16 oz 450 g cream cheese, softened
- 1 cup powdered sugar
- 1 tsp vanilla extract
- 1 cup heavy whipping cream
- ½ cup orange juice freshly squeezed
- 1 tbsp orange zest
For the Orange Glaze (Optional):
- ¼ cup orange marmalade
- 1 tsp water
Instructions
Step 1: Make the Crust
- In a medium bowl, combine graham cracker crumbs and sugar.
- Pour in the melted butter and mix until all crumbs are evenly coated and look like wet sand.
- Press the mixture firmly into the bottom of a 9-inch springform pan. Use the back of a spoon or a flat-bottomed glass for an even layer.
- Pro tip: Pressing the crust tightly ensures it holds together when slicing later.
Step 2: Prepare the Cheesecake Filling
- In a large bowl, beat the softened cream cheese until smooth and creamy using a hand mixer.
- Add powdered sugar and vanilla extract, beating until fully combined.
- Stir in orange juice and orange zest. Mix on low speed until smooth.
- Pro tip: Whisk continuously to prevent lumps and ensure the orange juice blends evenly.
Step 3: Whip the Cream
- In a separate bowl, whip the heavy cream until soft peaks form.
- Gently fold the whipped cream into the cream cheese mixture using a spatula. Be careful not to deflate the air—this keeps the cheesecake light and fluffy.
Step 4: Assemble the Cheesecake
- Pour the cheesecake filling over the prepared crust.
- Smooth the top with a spatula for an even finish.
- Cover the pan with plastic wrap and refrigerate for at least 4 hours, or overnight for the best results.
- Pro tip: Chilling overnight gives the cheesecake a firmer texture and richer flavor.
Step 5: Add the Orange Glaze (Optional)
- In a small saucepan, heat the orange marmalade with water over low heat until smooth.
- Let it cool slightly, then spoon or brush over the chilled cheesecake.
- Return to the fridge for 10–15 minutes to set the glaze before serving.
Step 6: Serve and Enjoy
- Carefully remove the cheesecake from the springform pan.
- Slice with a warm knife for clean edges.
- Serve as is, or add whipped cream or extra orange zest for garnish.
Notes
- Calories: 350–380 kcal
- Fat: 24 g
- Saturated Fat: 14 g
- Carbohydrates: 32 g
- Sugar: 22 g
- Protein: 5 g
- Fiber: 0.5 g
- Sodium: 210 mg