Homemade Strawberry Ice Cream
Summer brings endless opportunities for sweet, refreshing treats, and few desserts hit the mark quite like fresh, creamy strawberry ice cream. This recipe captures the bright, natural flavor of ripe strawberries, blending them into a smooth, luscious base that feels both indulgent and light. Whether you’re serving it at a casual weekend gathering or making it as a special treat, it’s a recipe that everyone will love.
Making your own strawberry ice cream at home doesn’t have to be complicated. This easy homemade ice cream recipe keeps things simple while delivering rich flavor and a creamy texture that rivals anything from the store. The key is using fresh, juicy strawberries and a straightforward custard base, which allows the fruit to really shine. You’ll end up with a dessert that tastes like summer in every bite.
Beyond being delicious, this homemade treat makes a thoughtful addition to any special occasion. For Valentine’s Day, it’s an effortless way to impress your loved one with a handmade dessert that feels personal and romantic. Serve it in heart-shaped bowls or alongside chocolate-dipped strawberries for an extra touch of sweetness.
The best part? You don’t need a fancy ice cream machine to enjoy this dessert. With a little patience and the right ingredients, you can create easy homemade strawberry ice cream that’s creamy, naturally sweet, and perfectly scoopable. It’s a dessert that’s fun to make, even more fun to eat, and sure to become a favorite whenever fresh strawberries are in season.
Why You’ll Love It
- Bursting with real strawberry flavor – Each bite tastes like fresh, sun-ripened strawberries blended into creamy ice cream, giving you that perfect balance of sweet and tangy.
- Perfect for Valentine’s Day dessert – This ice cream feels extra special for a romantic treat, but it’s just as delightful for a family gathering or a sunny afternoon snack.
- Simple ingredients, amazing results – You don’t need anything fancy—just strawberries, cream, sugar, and a little vanilla. Yet the result is rich, creamy, and far superior to store-bought versions.
- Fun to make at home – Churning this easy homemade strawberry ice cream is a satisfying process that’s almost as enjoyable as eating it. Plus, kids love helping crush the berries and stir the mix!
- Customizable to your taste – Want it extra sweet, a bit tart, or swirled with chocolate? Homemade ice cream gives you full control over flavor and texture.
Ingredient List
For the Strawberry Base
- 2 cups fresh strawberries, hulled and chopped
- 1/2 cup granulated sugar
- 1 teaspoon lemon juice
For the Ice Cream Base
- 2 cups heavy cream
- 1 cup whole milk
- 3/4 cup granulated sugar
- 1 teaspoon pure vanilla extract
- Pinch of salt
Ingredient Notes
- I always use fresh, ripe strawberries—they make the flavor bright and natural. Frozen berries work in a pinch, but fresh is unbeatable.
- Don’t skip the lemon juice! It balances the sweetness and really makes the strawberry flavor pop.
- Heavy cream is the key to creamy, scoopable ice cream. Don’t try a low-fat substitute—it changes the texture.
- I love using pure vanilla extract rather than imitation; it adds a subtle, rich depth to the ice cream.
- A pinch of salt might seem small, but it enhances all the flavors, especially the strawberries.
Kitchen Equipment Needed
- Mixing bowls – For combining your strawberries and ice cream base; I like sturdy glass bowls.
- Hand blender or food processor – To puree the strawberries smoothly; makes the texture silky.
- Whisk – For mixing the cream, milk, and sugar until smooth; a must for a lump-free base.
- Measuring cups and spoons – For precise ingredients; I swear by my stainless steel set.
- Ice cream maker – Optional but gives the creamiest results; I use a small countertop model that’s perfect for home batches.
- Spatula – For folding the strawberry puree into the base without deflating it.
- Freezer-safe container – To store your ice cream; I prefer one with an airtight lid to prevent freezer burn.
Instructions
Step 1: Prepare the Strawberries
- Wash and hull the strawberries, then chop them into small pieces.
- Add the chopped strawberries to a bowl with 1/2 cup sugar and 1 teaspoon lemon juice.
- Let them sit for 15–20 minutes to macerate—this draws out their natural juices and intensifies the flavor.
Pro Tip: Gently mash half the strawberries with a fork for a mix of smooth puree and little chunks. This adds great texture to your ice cream.
Step 2: Make the Ice Cream Base
- In a medium saucepan, combine 2 cups heavy cream, 1 cup whole milk, 3/4 cup sugar, and a pinch of salt.
- Heat over medium, stirring frequently until the sugar fully dissolves. Do not let it boil.
- Remove from heat and stir in 1 teaspoon vanilla extract.
Pro Tip: Whisk continuously to prevent lumps and ensure a silky smooth base.
Step 3: Combine Strawberries and Cream
- Let the cream mixture cool slightly.
- Slowly fold in the strawberry puree using a spatula, ensuring it’s evenly mixed.
- Taste and adjust sweetness if needed—add a little extra sugar if the strawberries are very tart.
Step 4: Chill the Mixture
- Cover the bowl with plastic wrap and refrigerate for at least 2 hours, or until the mixture is completely chilled.
Pro Tip: Chilling the mixture thoroughly helps the ice cream churn evenly and creates a creamier texture.
Step 5: Churn the Ice Cream
- Pour the chilled mixture into your ice cream maker according to the manufacturer’s instructions.
- Churn for 20–25 minutes until it reaches a soft-serve consistency.
Pro Tip: Avoid over-churning; stop when the ice cream is thick but still scoopable.
Step 6: Freeze Until Firm
- Transfer the churned ice cream to a freezer-safe container and smooth the top with a spatula.
- Cover tightly and freeze for at least 4 hours, or overnight, until firm.
- Before serving, let it sit at room temperature for 5–10 minutes for easier scooping.
Tips and Tricks for Success
- Use ripe strawberries – The fresher and sweeter, the more flavorful your ice cream will be.
- Don’t rush the chilling – Make sure both the strawberry mixture and cream base are fully cold before churning for the creamiest texture.
- Fold gently – When combining strawberry puree and cream, fold with a spatula to preserve airiness and texture.
- Avoid over-churning – Stop the ice cream maker once it reaches soft-serve consistency; over-churning can make it icy.
- Softening before serving – Let the ice cream sit at room temperature for a few minutes; it makes scooping and serving much easier.
Ingredient Substitutions and Variations
- Frozen strawberries – Perfect when fresh berries are out of season; just thaw before use.
- Coconut milk or almond milk – Can replace some or all of the dairy for a lighter, dairy-free version.
- Honey or maple syrup – Swap for sugar for a natural sweetener with subtle flavor.
- Mix-ins – Add chocolate chips, crushed cookies, or swirls of strawberry jam for extra fun.
- Herbs or flavor twists – A touch of fresh mint or a splash of balsamic vinegar can elevate the strawberry flavor in unexpected ways.
Serving Suggestions
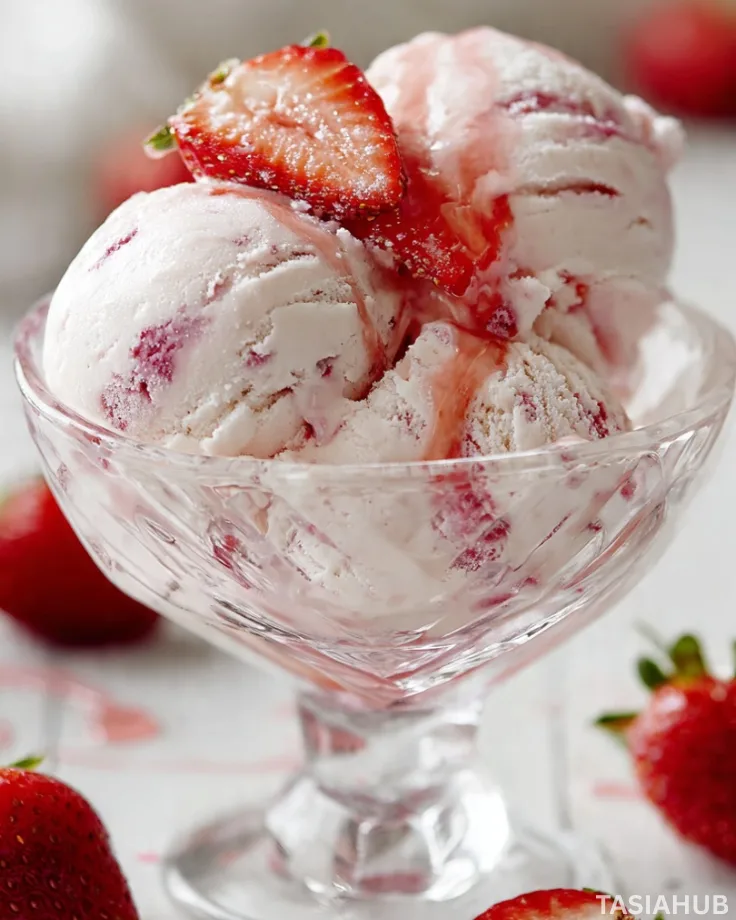
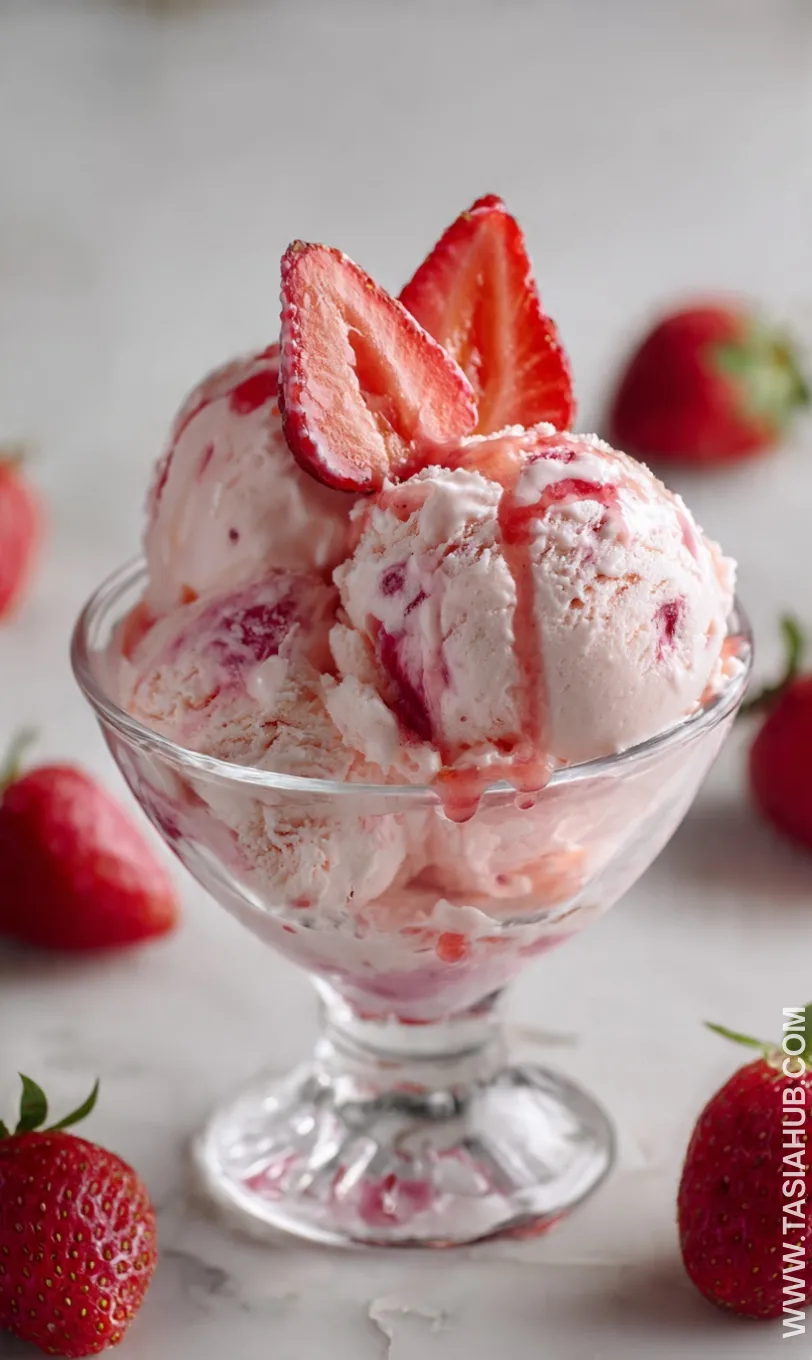
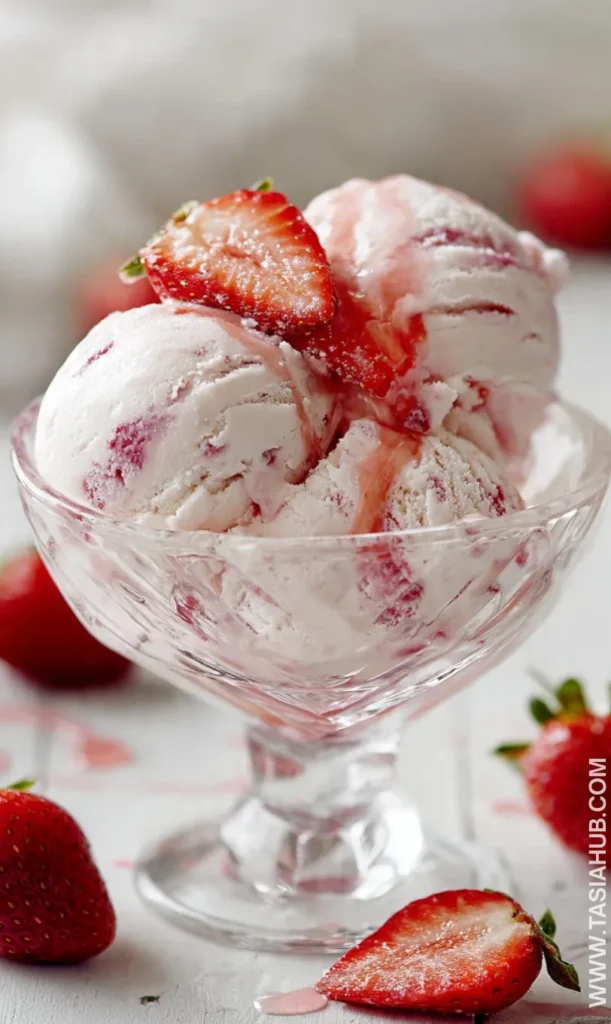
- Classic scoop in a bowl – I love serving a generous scoop of this strawberry ice cream in a small glass bowl with a few fresh strawberry slices on top—it’s simple, refreshing, and visually pretty.
- With chocolate drizzle – Pour warm chocolate sauce over the ice cream for a quick Valentine’s Day dessert that feels extra indulgent.
- In a waffle cone – Perfect for summer afternoons! I enjoy adding a few mini chocolate chips into the cone for a fun crunch.
- Alongside pound cake or shortcake – Slice a piece of buttery cake and serve with a scoop of strawberry ice cream for a homemade strawberry shortcake twist.
- Topped with whipped cream and sprinkles – This is my go-to for casual family nights. The whipped cream adds fluffiness, and sprinkles make it festive and fun for kids.
Storage and Reheating Instructions
- Freezing – Store ice cream in an airtight container in the freezer for up to 2 weeks.
- Preventing freezer burn – Press a piece of parchment paper directly onto the ice cream before sealing the container.
- Softening before serving – Let the ice cream sit at room temperature for 5–10 minutes to make scooping easier.
- Re-serving leftover scoops – Use an ice cream scoop warmed in hot water for clean, smooth servings.
- Do not refreeze melted ice cream – It can become icy and lose its creamy texture, so enjoy immediately once it starts to soften.
Frequently Asked Questions
Can I make this ice cream without an ice cream maker?
Yes! You can pour the mixture into a freezer-safe container and stir every 30 minutes for 2–3 hours until it’s firm. It won’t be quite as creamy as churned ice cream, but it’s still delicious.
Can I use frozen strawberries?
Absolutely! Just thaw them first and drain any excess liquid before making the puree. Frozen berries work well when fresh strawberries aren’t in season.
How long does homemade strawberry ice cream last?
Stored properly in an airtight container, it stays fresh in the freezer for up to 2 weeks. After that, the texture may become icy, but it’s still safe to eat.
Can I make this a dairy-free dessert?
Yes! Substitute the cream and milk with coconut milk or almond milk. The texture will be slightly different but still creamy and flavorful.
How can I prevent ice crystals from forming?
Chill your mixture thoroughly before churning and store the ice cream in an airtight container with a layer of parchment paper on top. Avoid refreezing melted ice cream.
Can I add mix-ins to this strawberry ice cream?
Definitely! Chocolate chips, cookie pieces, or swirls of strawberry jam can be folded in during the last few minutes of churning.
Did you try this recipe? Let me know in the comments how it turned out!
Homemade Strawberry Ice Cream
Equipment
- Mixing Bowls
- Hand blender or food processor
- Whisk
- Measuring cups and spoons
- Ice Cream Maker
- Spatula
- Freezer-Safe Container
Ingredients
For the Strawberry Base
- 2 cups fresh strawberries hulled and chopped
- 1/2 cup granulated sugar
- 1 teaspoon lemon juice
For the Ice Cream Base
- 2 cups heavy cream
- 1 cup whole milk
- 3/4 cup granulated sugar
- 1 teaspoon pure vanilla extract
- Pinch of salt
Instructions
Step 1: Prepare the Strawberries
- Wash and hull the strawberries, then chop them into small pieces.
- Add the chopped strawberries to a bowl with 1/2 cup sugar and 1 teaspoon lemon juice.
- Let them sit for 15–20 minutes to macerate—this draws out their natural juices and intensifies the flavor.
- Pro Tip: Gently mash half the strawberries with a fork for a mix of smooth puree and little chunks. This adds great texture to your ice cream.
Step 2: Make the Ice Cream Base
- In a medium saucepan, combine 2 cups heavy cream, 1 cup whole milk, 3/4 cup sugar, and a pinch of salt.
- Heat over medium, stirring frequently until the sugar fully dissolves. Do not let it boil.
- Remove from heat and stir in 1 teaspoon vanilla extract.
- Pro Tip: Whisk continuously to prevent lumps and ensure a silky smooth base.
Step 3: Combine Strawberries and Cream
- Let the cream mixture cool slightly.
- Slowly fold in the strawberry puree using a spatula, ensuring it’s evenly mixed.
- Taste and adjust sweetness if needed—add a little extra sugar if the strawberries are very tart.
Step 4: Chill the Mixture
- Cover the bowl with plastic wrap and refrigerate for at least 2 hours, or until the mixture is completely chilled.
- Pro Tip: Chilling the mixture thoroughly helps the ice cream churn evenly and creates a creamier texture.
Step 5: Churn the Ice Cream
- Pour the chilled mixture into your ice cream maker according to the manufacturer’s instructions.
- Churn for 20–25 minutes until it reaches a soft-serve consistency.
- Pro Tip: Avoid over-churning; stop when the ice cream is thick but still scoopable.
Step 6: Freeze Until Firm
- Transfer the churned ice cream to a freezer-safe container and smooth the top with a spatula.
- Cover tightly and freeze for at least 4 hours, or overnight, until firm.
- Before serving, let it sit at room temperature for 5–10 minutes for easier scooping.
Notes
Nutritional Value (per serving, approx.):
- Calories: 280–320 kcal
- Fat: 18–20 g
- Saturated Fat: 11–12 g
- Carbohydrates: 28–32 g
- Sugar: 25–28 g
- Protein: 3–4 g
- Fiber: 1–2 g
- Sodium: 40–50 mg