Easter Brownies
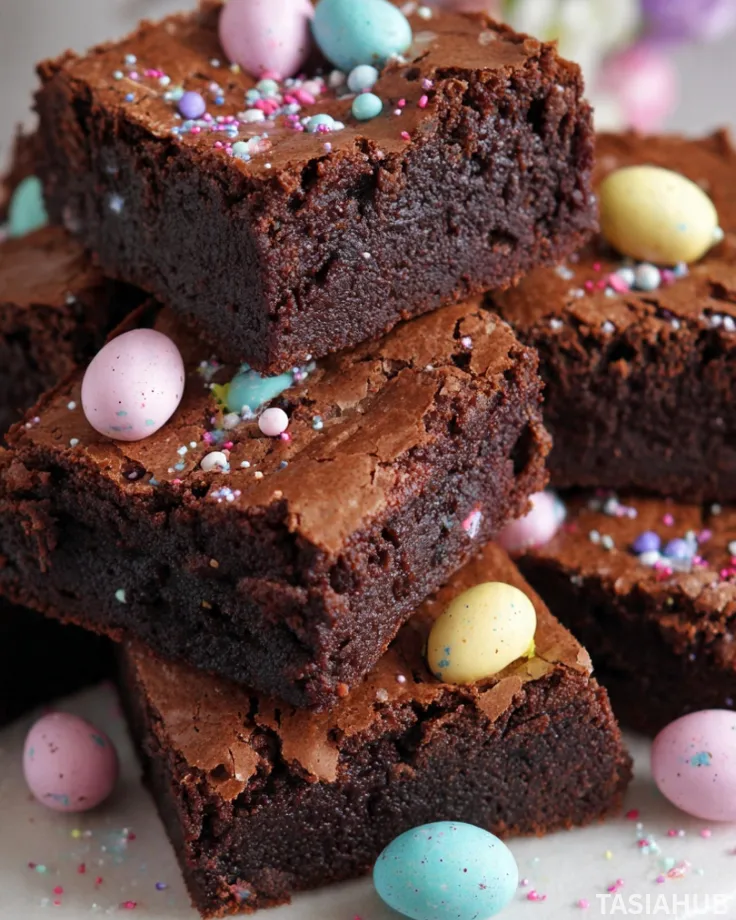
Spring is the perfect time to bring a little extra sweetness to your table, and these Easter brownies are a fun way to celebrate the season. Soft, fudgy, and packed with festive touches, they’re a treat that kids and adults alike will love. The colorful toppings and playful Easter shapes make these brownies feel special, perfect for sharing at family gatherings or bringing to a spring potluck.
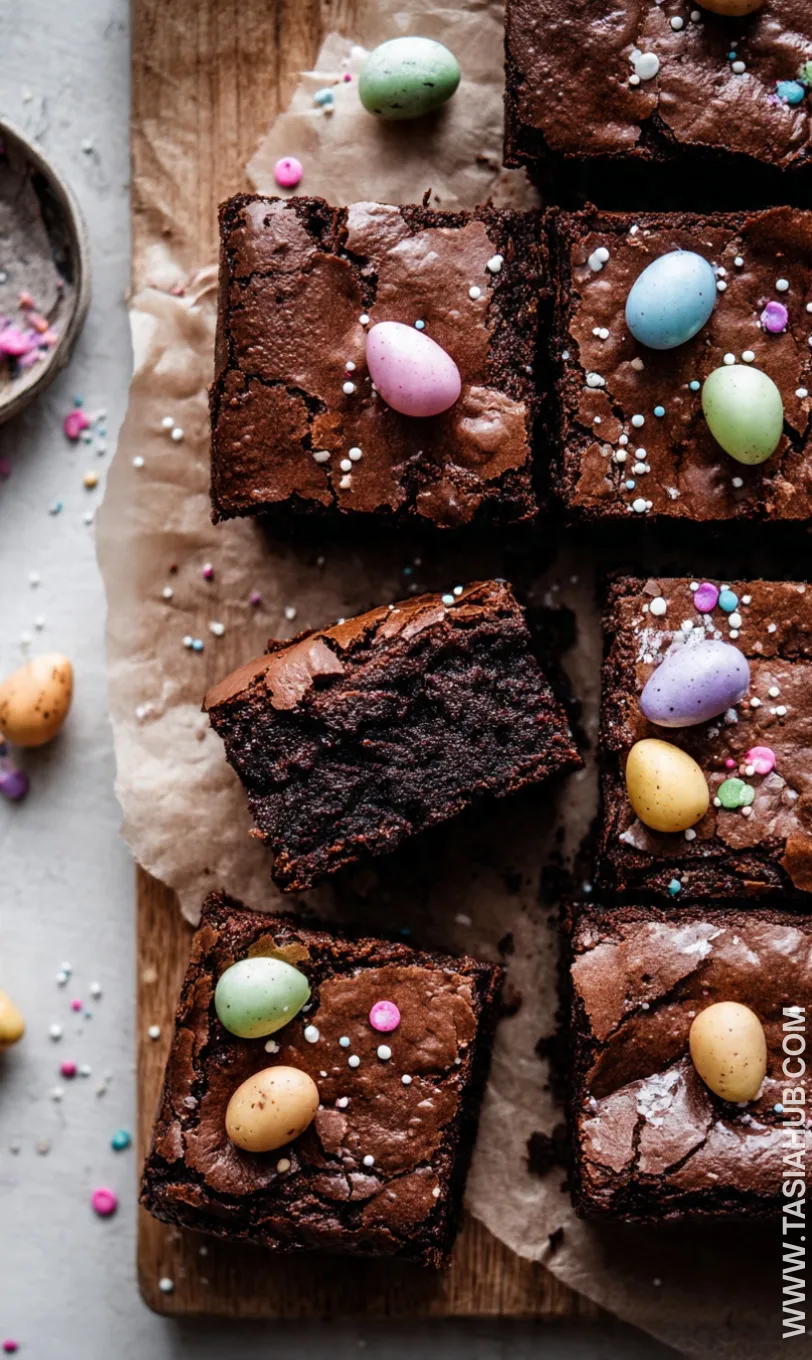
What makes these brownies stand out is how versatile they are. You can add mini chocolate eggs, pastel sprinkles, or even a drizzle of white chocolate to give them that signature Easter flair. Each bite is rich and chocolatey, yet the playful decorations make them feel lighthearted and seasonal—a delightful contrast that keeps people coming back for more.
Beyond the sweetness, these brownies are incredibly simple to make. Even if you’re short on time, you can whip up a batch in under an hour, and the ingredients are likely already in your pantry. They’re an ideal choice for a last-minute spring dessert that still looks impressive and tastes like a treat from a bakery.
This recipe isn’t just for Easter, either. The spring-inspired toppings and vibrant colors make these brownies a fun addition to any spring celebration. Whether you’re hosting brunch, a picnic, or just treating your family after school, these brownies hit the mark as a fun Easter dessert and a cheerful way to welcome the season.
Why You’ll Love It
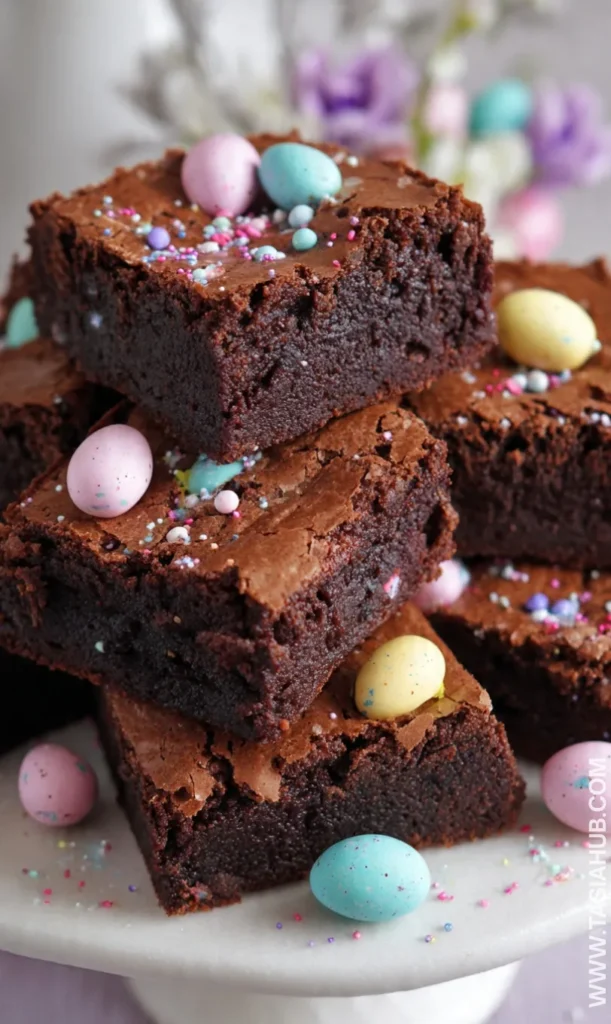
- Festive and playful – The colorful sprinkles and chocolate eggs make these brownies instantly feel like a holiday treat, perfect for decorating your spring table.
- Rich, fudgy texture – Each bite is decadently soft and chocolaty, hitting that perfect balance between cake-like and melt-in-your-mouth goodness.
- Quick and easy – You can have a batch ready in under an hour, making it ideal for last-minute gatherings or unexpected guests.
- Customizable for everyone – Add your favorite toppings, mix-ins, or even a swirl of caramel or peanut butter to make these brownies uniquely yours.
- Kid-approved fun – Decorating the brownies is half the joy, so kids can join in for a hands-on activity that’s delicious in the end!
Ingredient List
For the Brownies:
- 1 cup (2 sticks) unsalted butter, melted
- 2 cups granulated sugar
- 4 large eggs
- 1 tsp vanilla extract
- 1 cup all-purpose flour
- 1 cup unsweetened cocoa powder
- ½ tsp salt
- ½ tsp baking powder
For the Toppings:
- ½ cup mini chocolate eggs
- ¼ cup pastel sprinkles
- ¼ cup white chocolate chips, optional
Ingredient Notes
- I always use Ghirardelli cocoa powder for rich, deep chocolate flavor—it makes a huge difference!
- Don’t skip the butter—melted butter keeps the brownies fudgy and soft.
- Mini chocolate eggs aren’t just cute—they give that classic Easter crunch in every bite.
- For extra sweetness and decoration, pastel sprinkles really make these spring brownies feel festive.
- If you love a touch of creaminess, a few white chocolate chips on top are optional but so worth it!
Kitchen Equipment Needed
- 9×13-inch baking pan – For perfectly even brownies; I love using a glass pan so you can see the edges browning.
- Mixing bowls – One for wet ingredients, one for dry; makes mixing easier.
- Whisk or electric mixer – For smooth, lump-free batter; I usually use a handheld whisk.
- Measuring cups and spoons – Accurate measurements make a big difference.
- Spatula – For folding in ingredients and scraping the bowl; my favorite is a silicone spatula.
- Cooling rack – Helps brownies cool evenly without getting soggy on the bottom.
- Oven mitts – Safety first! Protect your hands when pulling out the pan.
Instructions
Step 1: Preheat and Prepare the Pan
- Preheat your oven to 350°F (175°C).
- Line a 9×13-inch baking pan with parchment paper, leaving a little overhang on the sides—this makes lifting the brownies out super easy.
- Lightly grease the parchment with a bit of butter or non-stick spray so nothing sticks.
Pro Tip: Make sure your oven is fully preheated before baking—this ensures the brownies cook evenly.
Step 2: Mix the Wet Ingredients
- In a large mixing bowl, combine the melted butter and sugar.
- Whisk until smooth and slightly glossy.
- Add the eggs, one at a time, whisking well after each addition.
- Stir in the vanilla extract.
Pro Tip: Whisk continuously while adding eggs to create a smooth, cohesive batter without any eggy lumps.
Step 3: Combine the Dry Ingredients
- In a separate bowl, sift together the flour, cocoa powder, salt, and baking powder.
- Sifting prevents clumps and ensures a light, fudgy texture.
Step 4: Fold Wet and Dry Together
- Gradually add the dry ingredients into the wet ingredients.
- Use a spatula to gently fold the batter until just combined—don’t overmix.
Pro Tip: Overmixing can make brownies cakier instead of fudgy, so fold gently until no dry streaks remain.
Step 5: Pour and Smooth the Batter
- Pour the batter into your prepared baking pan.
- Use a spatula to spread it evenly, making sure it reaches all corners.
Step 6: Add Toppings
- Sprinkle mini chocolate eggs, pastel sprinkles, and white chocolate chips (if using) evenly over the top.
- Press them lightly into the batter so they stick during baking.
Step 7: Bake
- Place the pan in the preheated oven and bake for 30–35 minutes.
- Check for doneness by inserting a toothpick in the center—there should be a few moist crumbs, but no raw batter.
Pro Tip: Don’t overbake! The brownies continue to cook slightly after removing from the oven, and you want them fudgy, not dry.
Step 8: Cool and Serve
- Allow the brownies to cool in the pan for about 15 minutes.
- Lift them out using the parchment overhang and place on a cooling rack.
- Once cooled, cut into squares and enjoy!
Tips and Tricks for Success
- Use room-temperature eggs for a smoother batter that mixes evenly.
- Melt the butter slowly—either in a microwave in short bursts or on the stove—to avoid scorching.
- Don’t overmix once you add the dry ingredients; gentle folding keeps the brownies fudgy.
- Let the brownies cool completely before cutting—they hold their shape better and toppings stay intact.
- Decorate right after pouring batter if you want toppings to stick in place during baking.
- For extra chocolatey flavor, lightly dust the top with cocoa powder before adding sprinkles.
Ingredient Substitutions and Variations
- Butter: Substitute with coconut oil or plant-based butter for a dairy-free option.
- Sugar: Brown sugar or coconut sugar works for a slightly richer, caramel-like taste.
- Flour: Use almond flour or oat flour for a gluten-free version (baking time may vary).
- Toppings: Swap mini chocolate eggs for chopped chocolate bars, peanut butter chips, or crushed candy.
- Mix-ins: Stir in chopped nuts, dried fruit, or white chocolate chunks for added texture.
- Flavor twist: Add a teaspoon of espresso powder to the batter to intensify the chocolate flavor.
Serving Suggestions
- Serve warm with a scoop of vanilla ice cream—it turns these spring brownies into a cozy, indulgent treat.
- I love cutting them into small squares for a party platter alongside pastel-colored macarons and cookies—it makes a fun Easter dessert spread.
- Drizzle with melted white or milk chocolate and sprinkle extra mini eggs on top for a festive presentation.
- Pair with a cup of hot cocoa or a latte for a sweet afternoon snack that feels like a little celebration.
- For a lighter treat, top a brownie square with fresh berries and a dollop of whipped cream—it balances the richness perfectly.
Storage and Reheating Instructions
- Store brownies in an airtight container at room temperature for up to 3 days.
- Keep them in the fridge for up to a week—bring to room temperature or warm slightly before serving.
- Freeze brownies in a sealed container or wrapped tightly in foil for up to 3 months. Thaw overnight in the fridge.
- Reheat individual squares in the microwave for 10–15 seconds for a soft, gooey bite.
- For a crispier top, warm brownies in a 325°F (160°C) oven for 5–7 minutes.
Frequently Asked Questions
Can I make these brownies gluten-free?
Yes! Swap the all-purpose flour for a gluten-free flour blend or almond flour. Just note that baking time may vary slightly.
Can I use dark chocolate instead of cocoa powder?
Absolutely! Melt about 4 ounces of dark chocolate and reduce the butter slightly. It will give a richer, fudgier texture.
How do I keep the brownies extra fudgy?
Don’t overbake and fold the batter gently. Cooling completely before cutting also helps them stay soft.
Can I make these ahead of time?
Yes! You can bake them a day or two in advance, store in an airtight container, and decorate right before serving for the freshest look.
Can kids help with this recipe?
Definitely! Kids can mix, fold, and sprinkle toppings. Just supervise the oven steps for safety.
Can I freeze these brownies?
Yes, they freeze beautifully. Wrap tightly or store in an airtight container and thaw in the fridge overnight before serving.
Did you try this recipe? Let me know in the comments how it turned out! I’d love to hear your favorite toppings or any fun twists you added to make these spring brownies your own.
Easter Brownies
Equipment
- 9×13-inch Baking Pan
- Mixing Bowls
- Whisk or electric mixer
- Measuring cups and spoons
- Spatula
- Cooling Rack
- Oven Mitts
Ingredients
For the Brownies:
- 1 cup 2 sticks unsalted butter, melted
- 2 cups granulated sugar
- 4 large eggs
- 1 tsp vanilla extract
- 1 cup all-purpose flour
- 1 cup unsweetened cocoa powder
- ½ tsp salt
- ½ tsp baking powder
For the Toppings:
- ½ cup mini chocolate eggs
- ¼ cup pastel sprinkles
- ¼ cup white chocolate chips optional
Instructions
Step 1: Preheat and Prepare the Pan
- Preheat your oven to 350°F (175°C).
- Line a 9×13-inch baking pan with parchment paper, leaving a little overhang on the sides—this makes lifting the brownies out super easy.
- Lightly grease the parchment with a bit of butter or non-stick spray so nothing sticks.
- Pro Tip: Make sure your oven is fully preheated before baking—this ensures the brownies cook evenly.
Step 2: Mix the Wet Ingredients
- In a large mixing bowl, combine the melted butter and sugar.
- Whisk until smooth and slightly glossy.
- Add the eggs, one at a time, whisking well after each addition.
- Stir in the vanilla extract.
- Pro Tip: Whisk continuously while adding eggs to create a smooth, cohesive batter without any eggy lumps.
Step 3: Combine the Dry Ingredients
- In a separate bowl, sift together the flour, cocoa powder, salt, and baking powder.
- Sifting prevents clumps and ensures a light, fudgy texture.
Step 4: Fold Wet and Dry Together
- Gradually add the dry ingredients into the wet ingredients.
- Use a spatula to gently fold the batter until just combined—don’t overmix.
- Pro Tip: Overmixing can make brownies cakier instead of fudgy, so fold gently until no dry streaks remain.
Step 5: Pour and Smooth the Batter
- Pour the batter into your prepared baking pan.
- Use a spatula to spread it evenly, making sure it reaches all corners.
Step 6: Add Toppings
- Sprinkle mini chocolate eggs, pastel sprinkles, and white chocolate chips (if using) evenly over the top.
- Press them lightly into the batter so they stick during baking.
Step 7: Bake
- Place the pan in the preheated oven and bake for 30–35 minutes.
- Check for doneness by inserting a toothpick in the center—there should be a few moist crumbs, but no raw batter.
- Pro Tip: Don’t overbake! The brownies continue to cook slightly after removing from the oven, and you want them fudgy, not dry.
Step 8: Cool and Serve
- Allow the brownies to cool in the pan for about 15 minutes.
- Lift them out using the parchment overhang and place on a cooling rack.
- Once cooled, cut into squares and enjoy!
Notes
- Calories: 280–320 kcal
- Carbohydrates: 38–42 g
- Protein: 4–5 g
- Fat: 14–16 g
- Saturated Fat: 8–9 g
- Sugar: 26–30 g
- Fiber: 2–3 g
- Sodium: 150–180 mg