Decadent Chocolate Pudding
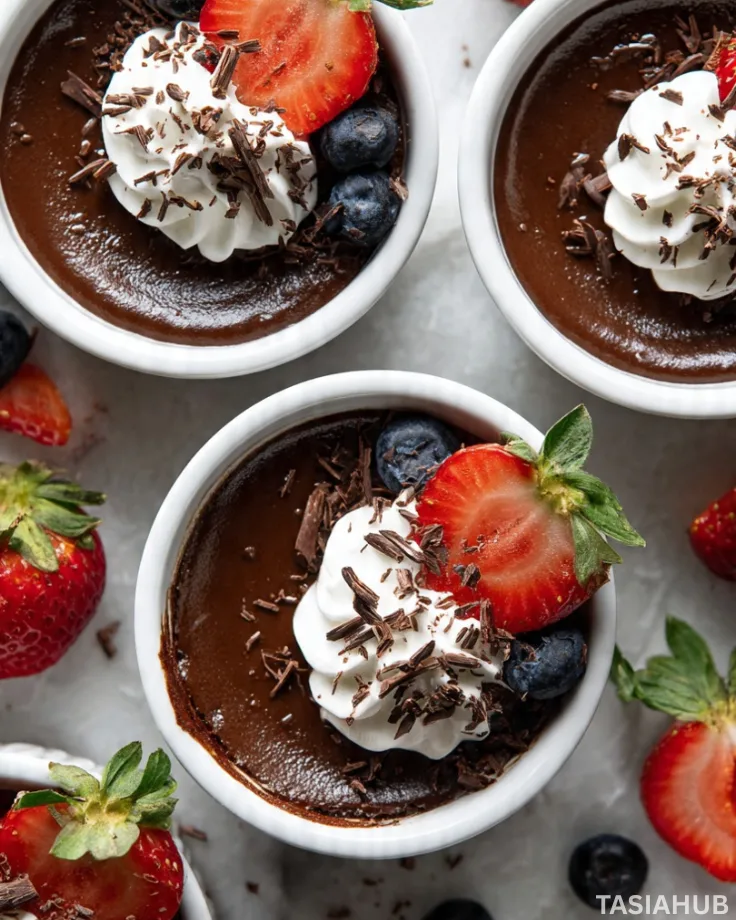
Chocolate pudding is one of those desserts that feels like a warm hug on a plate. Rich, creamy, and perfectly smooth, it’s a chocolate lover’s dream come true. Whether you’re planning a cozy night in or searching for the perfect Valentine’s day dessert to impress someone special, this easy homemade chocolate pudding brings a touch of indulgence without feeling over the top.
Making chocolate pudding from scratch is surprisingly simple, and the results are far superior to store-bought mixes. You get complete control over the flavor, sweetness, and texture, allowing you to create a dessert that’s truly your own. The best part is that it doesn’t require fancy ingredients or complicated steps—just a few pantry staples and a bit of patience.
I love how versatile homemade chocolate pudding is. You can enjoy it straight from the bowl, layer it in a parfait with whipped cream and berries, or even use it as a filling for cakes and tarts. Every bite melts in your mouth, leaving a velvety richness that only real chocolate can deliver.
If you’ve ever wondered how to make chocolate pudding that rivals any café or restaurant, this recipe will show you exactly how. From mixing the chocolate and sugar to achieving that perfect creamy consistency, you’ll be able to whip up a chocolate dessert that feels both luxurious and comforting—ideal for any occasion, especially Valentine’s Day.
Why You’ll Love It
- Rich, Velvety Texture: Every spoonful of this chocolate pudding is silky smooth and decadent, giving you that melt-in-your-mouth chocolate experience without being overly heavy.
- Simple Ingredients, Big Flavor: You don’t need a pantry full of fancy items—just a handful of everyday ingredients come together to create a chocolate dessert that tastes indulgent and gourmet.
- Quick to Make, No Fuss: From start to finish, this easy homemade chocolate pudding takes just minutes to prepare, making it a perfect last-minute treat or a show-stopping addition to Valentine’s day dessert plans.
- Customizable for Your Sweet Tooth: You can adjust the sweetness, add a hint of espresso for depth, or even swirl in caramel or berries for extra flair—homemade chocolate pudding lets you get creative.
- Versatile Dessert Option: Enjoy it on its own, layered in cups with toppings, or as a filling for cakes and pastries. It’s a chocolate dessert that’s as flexible as it is delicious.
Ingredient List
For the Chocolate Pudding:
- 1/2 cup granulated sugar
- 1/4 cup unsweetened cocoa powder
- 3 tablespoons cornstarch
- 1/8 teaspoon salt
- 2 3/4 cups whole milk
- 2 tablespoons unsalted butter
- 1 teaspoon pure vanilla extract
- 4 ounces semi-sweet chocolate, chopped
Optional Toppings:
- Whipped cream
- Fresh berries
- Chocolate shavings
Ingredient Notes
- I always use good-quality semi-sweet chocolate for this—it makes the pudding taste rich and velvety.
- Don’t skip the cornstarch! It’s what gives your chocolate pudding that perfect creamy consistency.
- Whole milk is best here; it makes the pudding extra smooth and indulgent.
- A touch of vanilla extract adds warmth and depth—you’ll notice the difference in every bite.
- Butter might seem small, but it gives the pudding that silky finish I love.
Kitchen Equipment Needed
- Medium saucepan – Perfect for cooking the pudding evenly without burning. I love using my heavy-bottomed pan; it makes a big difference.
- Whisk – Essential for keeping the mixture smooth and lump-free. My silicone whisk is a lifesaver.
- Measuring cups and spoons – For accuracy, especially with cocoa and cornstarch. I always keep a set handy.
- Heatproof spatula – Great for stirring in chocolate and butter at the end without scratching your pan.
- Mixing bowls – Useful for prepping ingredients or cooling the pudding before serving. I have a set of glass bowls I adore.
- Serving dishes or ramekins – For individual servings or family-style presentation. Makes it feel extra special!
Instructions
Step 1: Combine the Dry Ingredients
- In a medium saucepan, whisk together the sugar, cocoa powder, cornstarch, and salt until fully combined.
- Pro tip: Sift the cocoa powder if it’s clumpy—this helps your chocolate pudding stay silky smooth.
Step 2: Add the Milk
- Gradually pour in the milk, whisking constantly to make a smooth mixture.
- Make sure to whisk continuously to prevent lumps from forming.
- Pro tip: Start with a small amount of milk to make a paste with the dry ingredients, then slowly whisk in the rest. This ensures a lump-free pudding.
Step 3: Cook the Pudding
- Place the saucepan over medium heat and cook the mixture, whisking constantly.
- Keep stirring until the pudding thickens and begins to bubble—this usually takes 5–7 minutes.
- Pro tip: Don’t walk away! Stirring constantly prevents the pudding from sticking to the bottom and burning.
Step 4: Add Chocolate and Butter
- Remove the pan from heat and stir in the chopped chocolate and butter until fully melted and smooth.
- Add the vanilla extract and mix well.
- Pro tip: Make sure the pan is off the heat before adding chocolate—this prevents it from seizing.
Step 5: Cool and Serve
- Pour the pudding into individual serving dishes or a large bowl.
- Cover the surface with plastic wrap to prevent a skin from forming.
- Chill in the refrigerator for at least 2 hours before serving.
- Pro tip: If you want a softer, just-set pudding, serve slightly warm—it’s perfect for cozy nights in.
Tips and Tricks for Success
- Whisk continuously: Especially while the pudding is cooking, constant whisking prevents lumps and gives that silky texture.
- Use high-quality chocolate: The flavor really shines through, so don’t skip on good semi-sweet or dark chocolate.
- Avoid high heat: Cooking over medium heat helps the pudding thicken evenly without scorching.
- Cover with plastic wrap: Press the wrap directly onto the surface to prevent a skin from forming while chilling.
- Chill thoroughly: Letting the pudding cool for at least 2 hours enhances the flavor and texture.
Ingredient Substitutions and Variations
- Milk alternatives: You can use almond, oat, or soy milk for a dairy-free version—just make sure it’s unsweetened.
- Sweetener swaps: Try coconut sugar or maple syrup instead of granulated sugar for a subtle twist.
- Chocolate options: Dark chocolate for a richer pudding, or milk chocolate for a sweeter, creamier version.
- Add a twist: Stir in a teaspoon of espresso for depth, a pinch of cinnamon for warmth, or a dash of chili for a subtle kick.
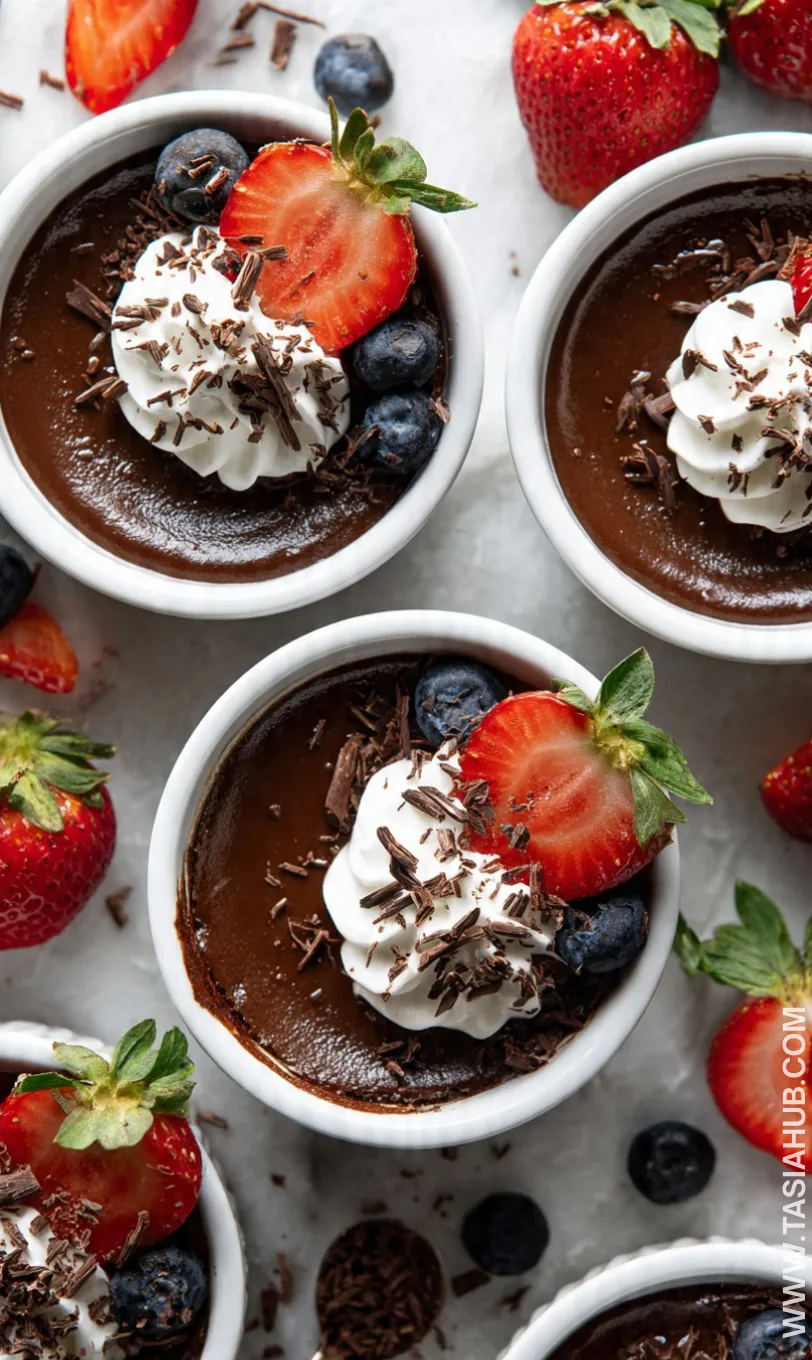
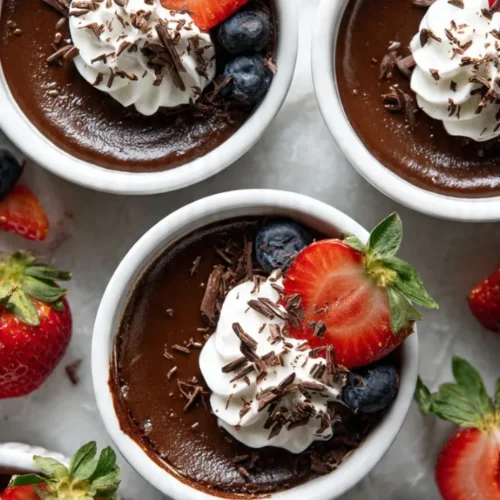
- Toppings: Fresh berries, whipped cream, or chocolate shavings add extra flair and texture to your homemade chocolate pudding.
Serving Suggestions
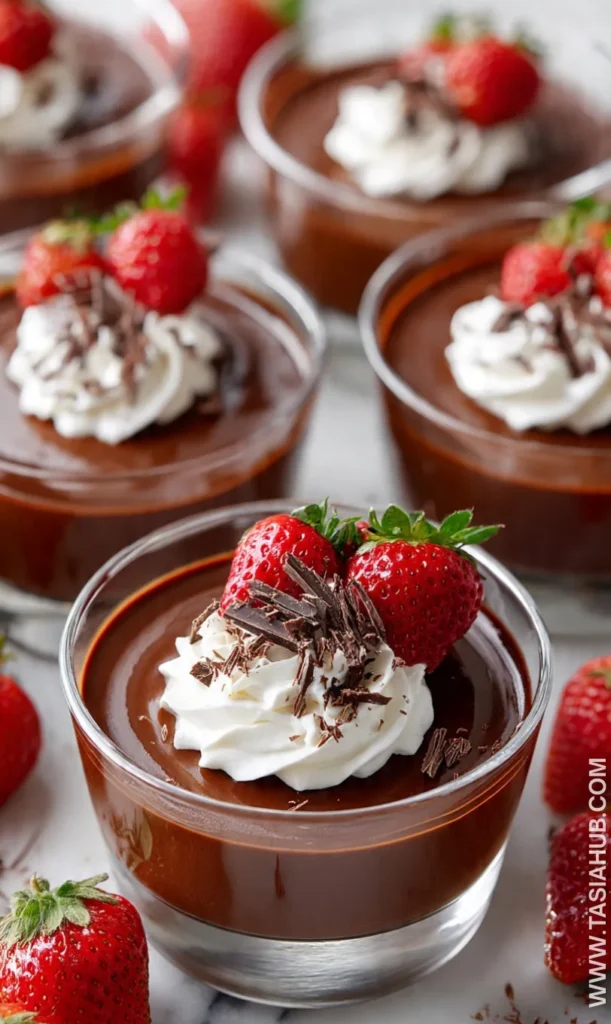
- I love serving this chocolate pudding in small glass cups topped with fresh raspberries and a dollop of whipped cream—it feels like a fancy dessert without the fuss.
- Layer the pudding with crushed cookies or graham crackers for a quick chocolate parfait that’s perfect for Valentine’s day dessert.
- Spoon the pudding into a large bowl and let everyone add their favorite toppings like chocolate shavings, caramel drizzle, or toasted nuts—it’s fun for gatherings!
- For a cozy treat, enjoy the pudding slightly warm with a side of shortbread cookies—the combination of textures is heavenly.
- Turn it into a mini dessert pie by spreading it into pre-baked tart shells and chilling—an easy way to impress guests.
Storage and Reheating Instructions
- Refrigerate: Store in an airtight container in the fridge for up to 4 days.
- Cover to prevent skin: Press plastic wrap directly on the surface before chilling.
- Reheat gently: Warm small portions in the microwave for 15–20 seconds if you prefer a slightly warm pudding.
- Stir before serving: Always give the pudding a quick stir to restore its creamy texture after chilling.
- Freeze option: You can freeze pudding for up to 1 month, but the texture may be slightly grainy after thawing.
Frequently Asked Questions
Can I make chocolate pudding ahead of time?
Absolutely! You can make it a day in advance and keep it chilled in the fridge. Just cover the surface with plastic wrap to prevent a skin from forming.
Can I use a different type of milk?
Yes! Whole milk gives the creamiest texture, but almond, oat, or soy milk work well too—just use unsweetened versions for best results.
How do I fix lumps in my pudding?
Whisk vigorously over low heat to smooth it out. If needed, you can also strain it through a fine mesh sieve for an extra silky finish.
Can I make this dairy-free or vegan?
Definitely! Use plant-based milk and substitute butter with coconut oil or a vegan butter alternative. The flavor is still rich and satisfying.
How long does homemade chocolate pudding last?
Stored properly in the fridge, it lasts up to 4 days. For longer storage, you can freeze it for about a month, though the texture may change slightly.
Can I add flavors or toppings?
Yes! Vanilla, espresso, or a pinch of cinnamon can enhance the flavor. Top with whipped cream, berries, chocolate shavings, or crushed cookies for a special touch.
Did you try this recipe? Let me know in the comments how it turned out—I love hearing your chocolate pudding creations!
Decadent Chocolate Pudding
Equipment
- Medium saucepan
- Whisk
- Measuring cups and spoons
- Heatproof spatula
- Mixing Bowls
- Serving dishes or ramekins
Ingredients
For the Chocolate Pudding:
- 1/2 cup granulated sugar
- 1/4 cup unsweetened cocoa powder
- 3 tablespoons cornstarch
- 1/8 teaspoon salt
- 2 3/4 cups whole milk
- 2 tablespoons unsalted butter
- 1 teaspoon pure vanilla extract
- 4 ounces semi-sweet chocolate chopped
Optional Toppings:
- Whipped cream
- Fresh berries
- Chocolate shavings
Instructions
Step 1: Combine the Dry Ingredients
- In a medium saucepan, whisk together the sugar, cocoa powder, cornstarch, and salt until fully combined.
- Pro tip: Sift the cocoa powder if it’s clumpy—this helps your chocolate pudding stay silky smooth.
Step 2: Add the Milk
- Gradually pour in the milk, whisking constantly to make a smooth mixture.
- Make sure to whisk continuously to prevent lumps from forming.
- Pro tip: Start with a small amount of milk to make a paste with the dry ingredients, then slowly whisk in the rest. This ensures a lump-free pudding.
Step 3: Cook the Pudding
- Place the saucepan over medium heat and cook the mixture, whisking constantly.
- Keep stirring until the pudding thickens and begins to bubble—this usually takes 5–7 minutes.
- Pro tip: Don’t walk away! Stirring constantly prevents the pudding from sticking to the bottom and burning.
Step 4: Add Chocolate and Butter
- Remove the pan from heat and stir in the chopped chocolate and butter until fully melted and smooth.
- Add the vanilla extract and mix well.
- Pro tip: Make sure the pan is off the heat before adding chocolate—this prevents it from seizing.
Step 5: Cool and Serve
- Pour the pudding into individual serving dishes or a large bowl.
- Cover the surface with plastic wrap to prevent a skin from forming.
- Chill in the refrigerator for at least 2 hours before serving.
- Pro tip: If you want a softer, just-set pudding, serve slightly warm—it’s perfect for cozy nights in.
Notes
Nutritional Value (per serving, approx.):
- Calories: 250 kcal
- Fat: 12 g
- Saturated Fat: 7 g
- Carbohydrates: 34 g
- Sugar: 28 g
- Protein: 5 g
- Fiber: 2 g
- Sodium: 100 mg
This is exactly what we were craving. So delicious! I added chia seeds to mine and it was amazing!