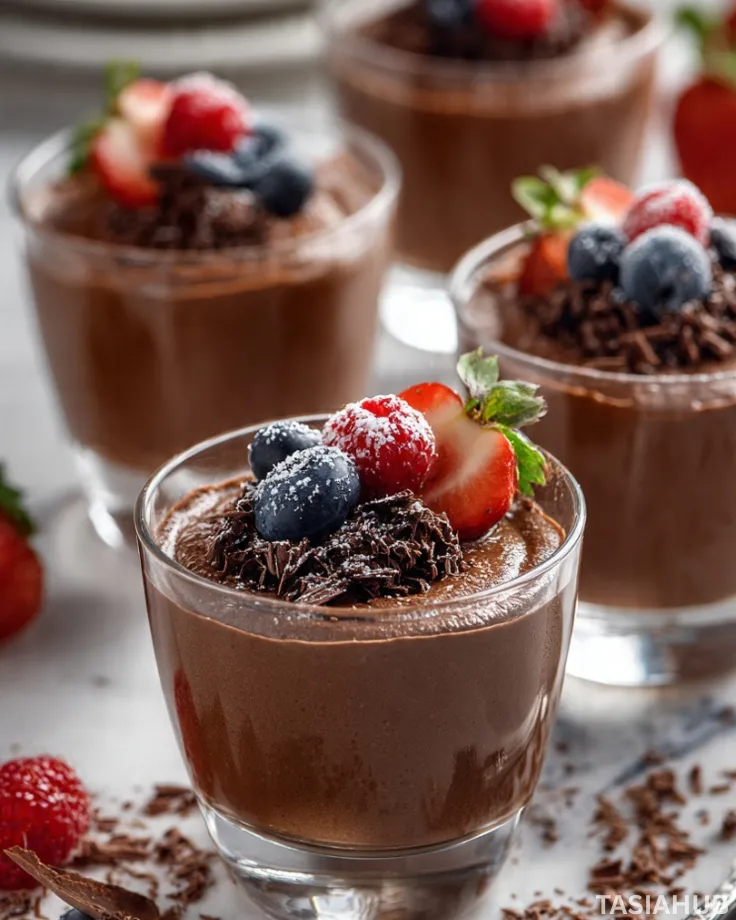
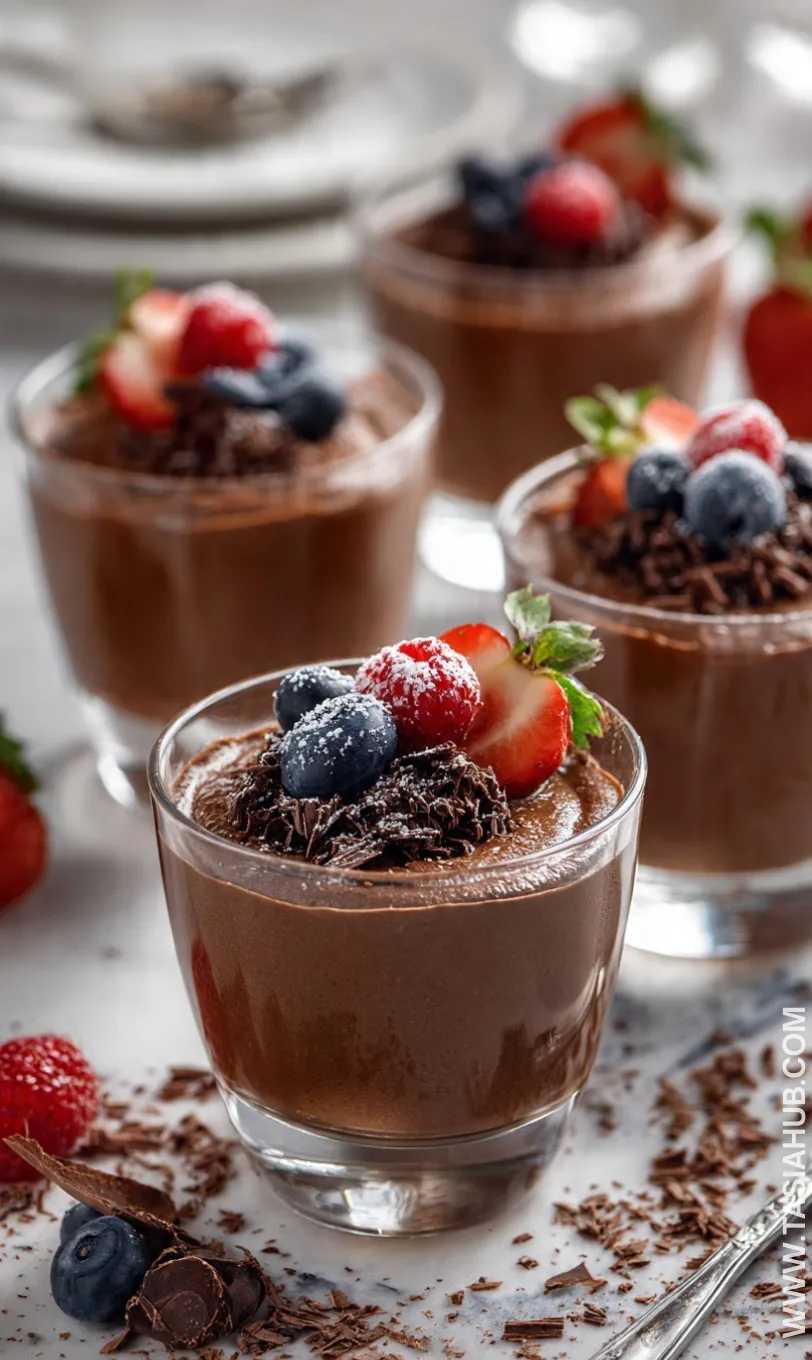
2 Ingredient Chocolate Mousse
Chocolate has a way of making any day feel special, but for Valentine’s Day—or any time you want a touch of indulgence—it becomes downright irresistible. This 2 ingredient chocolate mousse brings that rich, velvety flavor without demanding hours in the kitchen or a long list of ingredients. The beauty of this recipe is that it’s effortless yet elegant, giving you a dessert that tastes like it belongs in a high-end café.
I love how simple it is to whip up this chocolate mousse and have it ready to serve in minutes. Just two ingredients transform into a creamy, airy delight that melts in your mouth. No complicated techniques, no heavy equipment, just pure, decadent chocolate bliss.
This mousse isn’t just convenient—it’s versatile. Serve it in little glasses for a romantic Valentine’s dessert, spoon it onto a plate and top with fresh berries for a pop of color, or even layer it in a parfait for an impressive treat. Everyone who tries it asks for the recipe because it manages to feel indulgent while being surprisingly light.
Whether you’re planning a quiet evening at home, hosting friends, or surprising someone special, this 2 ingredient chocolate mousse is a guaranteed crowd-pleaser. It’s proof that sometimes the best chocolate dessert doesn’t need fancy add-ins or hours of prep—just a few simple ingredients and a little love.
Why You’ll Love It
- Ridiculously Easy: With only two ingredients, you can have a dessert that looks and tastes gourmet without spending hours in the kitchen. Seriously, it’s almost magic.
- Quick to Make: This chocolate mousse comes together in minutes, making it perfect for last-minute treats or when you’re craving something sweet and luxurious.
- Rich and Creamy: Despite its simplicity, the mousse is incredibly velvety with that classic melt-in-your-mouth texture that makes chocolate lovers swoon.
- Versatile Presentation: Serve it in little glasses, bowls, or even as a layered parfait. You can dress it up with berries, whipped cream, or a drizzle of chocolate—making it perfect for any occasion.
- Perfect Valentine’s Dessert: It’s indulgent, elegant, and sweet, hitting all the right notes for a romantic evening without any stress or fuss.
Ingredients
For the Chocolate Mousse
- 1 cup heavy whipping cream
- 1 cup good quality chocolate chips (semi-sweet or dark)
Ingredient Notes
- I always use Ghirardelli chocolate chips for this—it melts smoothly and makes the mousse extra silky.
- Don’t skip the heavy whipping cream! It’s what gives the mousse that airy, fluffy texture everyone loves.
- For a slightly richer flavor, try dark chocolate instead of semi-sweet—your taste buds will thank you.
- Make sure your cream is cold before whipping; it whips faster and holds its shape better.
Kitchen Equipment Needed
- Mixing bowls – For melting chocolate and whipping cream separately. I love using glass bowls because they’re easy to clean and microwave-safe.
- Hand whisk or electric mixer – To whip the cream to soft peaks. I usually grab my hand mixer for speed.
- Microwave-safe bowl or double boiler – For melting the chocolate gently without burning it. I swear by a simple glass bowl in the microwave.
- Spatula – To fold the chocolate into the whipped cream without deflating it. A silicone spatula works perfectly.
- Serving glasses or bowls – For presenting the mousse. Small dessert glasses make it feel extra fancy.
Instructions
Step 1: Prepare Your Ingredients
- Measure out 1 cup of chocolate chips and 1 cup of cold heavy whipping cream.
- Set them on your countertop so everything is ready to go.
- Pro tip: Having everything measured beforehand makes the process smooth and stress-free.
Step 2: Melt the Chocolate
- Place the chocolate chips in a microwave-safe bowl.
- Microwave in 20-second intervals, stirring after each, until smooth and fully melted.
- Pro tip: Whisk continuously as it melts to prevent lumps and ensure a silky texture.
- Alternatively, you can melt the chocolate over a double boiler on low heat.
Step 3: Whip the Cream
- Pour the cold heavy whipping cream into a mixing bowl.
- Using a hand mixer or stand mixer, whip on medium speed until soft peaks form.
- Pro tip: Don’t over-whip. Stop once the cream holds peaks but is still smooth—over-whipping can make it grainy.
Step 4: Fold in the Chocolate
- Let the melted chocolate cool slightly for a minute or two so it’s warm but not hot.
- Gently fold the chocolate into the whipped cream using a spatula.
- Use a light, circular motion to combine without deflating the airy cream.
- Pro tip: Folding slowly preserves the mousse’s light, fluffy texture.
Step 5: Chill and Set
- Spoon the mousse into serving glasses or bowls.
- Refrigerate for at least 1 hour to allow it to set and develop a creamy consistency.
- Pro tip: For an extra touch, chill overnight. The flavors deepen and the texture becomes even more luxurious.

Tips and Tricks for Success
- Always use cold cream—it whips faster and holds peaks better.
- Let the chocolate cool slightly before folding it in, or it can melt the whipped cream.
- Fold, don’t stir. Gentle folding keeps the mousse light and airy.
- Chill the mousse for at least 1 hour; it tastes best when fully set.
- Use a spatula instead of a spoon when folding to prevent deflating the cream.
Ingredient Substitutions and Variations
- Swap semi-sweet chocolate for milk chocolate if you prefer a sweeter mousse.
- For a dairy-free option, use coconut cream instead of heavy whipping cream.
- Add a teaspoon of espresso to the chocolate for a mocha twist.
- Sprinkle sea salt or cocoa nibs on top for extra texture and flavor.
- Mix in a few drops of peppermint or orange extract for a festive or seasonal variation.
Serving Suggestions
- Serve in small dessert glasses with a few fresh raspberries on top—I love this for a romantic Valentine’s dessert because it looks so elegant.
- Add a whipped cream swirl and chocolate shavings—it makes the mousse feel extra decadent for special occasions.
- Layer with crushed cookies or graham crackers for a quick chocolate parfait; I often do this for casual dinner parties.
- Sprinkle a pinch of sea salt or cocoa nibs on top to bring out the chocolate flavor—it’s a simple trick that elevates the taste.
- Pair with a hot cup of coffee or espresso—I love this combo for a cozy, indulgent evening treat.
Storage and Reheating Instructions
- Store in an airtight container in the refrigerator for up to 3 days.
- Keep mousse in individual serving glasses for easy portioning and presentation.
- Do not freeze; the texture will change and become grainy.
- Bring out of the fridge 5–10 minutes before serving to soften slightly for the best creamy texture.
- Gently stir before serving if it has settled a bit—this refreshes the mousse without losing fluffiness.
Frequently Asked Questions
Can I make this mousse ahead of time?
Yes! You can make it up to a day in advance and keep it chilled in the fridge. The texture stays light and creamy, making it perfect for prep ahead of a dinner or Valentine’s dessert.
Can I use chocolate bars instead of chips?
Absolutely! Just chop the chocolate into small pieces so it melts evenly. I find high-quality bars give a slightly richer flavor than chips.
How do I fix mousse that’s too runny?
If it’s a bit loose, gently fold in a little more whipped cream. Chill for an extra 30–60 minutes—it will firm up nicely.
Can I make it dairy-free?
Yes! Swap heavy cream for coconut cream. Whip the coconut cream like regular cream, and you’ll get a luscious, vegan-friendly version.
How long does this mousse last?
Store in an airtight container in the fridge for up to 3 days. Beyond that, the texture may start to change, but it’s usually eaten long before then!
Can I add flavors like mint or orange?
Definitely! A few drops of extract, or even a little zest, can add a fun twist. Just fold it in gently with the chocolate to keep the mousse airy.
Did you try this recipe? Let me know in the comments how it turned out—I love hearing your twists and tips!

2 Ingredient Chocolate Mousse
Equipment
- Mixing Bowls
- Hand whisk or electric mixer
- Microwave-safe bowl or double boiler
- Spatula
- Serving Glasses or Bowls
Ingredients
- 1 cup heavy whipping cream
- 1 cup good quality chocolate chips semi-sweet or dark
Instructions
Step 1: Prepare Your Ingredients
- Measure out 1 cup of chocolate chips and 1 cup of cold heavy whipping cream.
- Set them on your countertop so everything is ready to go.
- Pro tip: Having everything measured beforehand makes the process smooth and stress-free.
Step 2: Melt the Chocolate
- Place the chocolate chips in a microwave-safe bowl.
- Microwave in 20-second intervals, stirring after each, until smooth and fully melted.
- Pro tip: Whisk continuously as it melts to prevent lumps and ensure a silky texture.
- Alternatively, you can melt the chocolate over a double boiler on low heat.
Step 3: Whip the Cream
- Pour the cold heavy whipping cream into a mixing bowl.
- Using a hand mixer or stand mixer, whip on medium speed until soft peaks form.
- Pro tip: Don’t over-whip. Stop once the cream holds peaks but is still smooth—over-whipping can make it grainy.
Step 4: Fold in the Chocolate
- Let the melted chocolate cool slightly for a minute or two so it’s warm but not hot.
- Gently fold the chocolate into the whipped cream using a spatula.
- Use a light, circular motion to combine without deflating the airy cream.
- Pro tip: Folding slowly preserves the mousse’s light, fluffy texture.
Step 5: Chill and Set
- Spoon the mousse into serving glasses or bowls.
- Refrigerate for at least 1 hour to allow it to set and develop a creamy consistency.
- Pro tip: For an extra touch, chill overnight. The flavors deepen and the texture becomes even more luxurious.
Notes
Nutritional Value (per serving, approx.):
- Calories: 320 kcal
- Fat: 24 g
- Saturated Fat: 15 g
- Carbohydrates: 28 g
- Sugars: 24 g
- Protein: 4 g
- Fiber: 2 g